® Carlos Alguacil for Rittagraf
Why should we degrease a screen for screen printing?
Screen printing involves many steps, starting with the creation of our artwork or positive (whether it's digital or autographic). However, when it comes to making a screen for screen printing, the first step is degreasing the mesh. Why is it so important? The mesh needs to receive a sensitive material - photo emulsion - and preparing the surface is necessary to ensure a good chemical reaction. This is especially important when working with detailed images.
In the past, screen meshes had to be thoroughly prepared. When screens were new, a preparation of 500-grit silicon carbide paste had to be applied to the mesh to roughen the surface, improving the adhesion of photo emulsions. Nowadays, most polyester meshes come pre-treated and we only need to degrease them with appropriate chemicals.
Many people think that degreasing simply means "cleaning the mesh". While that is partially true, it's actually more complex than that. When we use a professional screen printing detergent, we not only degrease the mesh but also prepare it to better accept the screen printing emulsion. In addition to removing grease, a professional detergent promotes mesh wetting and facilitates the adhesion of screen printing photo emulsions.
Degrease a screen printing frame step by step
If we want to reproduce halftone images, it is essential to properly degrease the screen mesh. Any speck of dust, finger grease, or impurities on the fabric will cause deficiencies in the development process and consequently, errors in the printing.
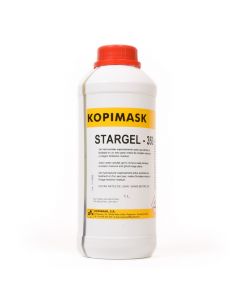
It is important to note that the degreasing process should be done every time before emulsifying the screen, not only when screens are new. If a screen has just been reclaimed, it is also necessary to degrease it. Unless a caustic chemical with degreasing properties, such as Stargel 350 or Mega-Clean Xtra, was used in the reclaiming process, it is recommended to degrease the screen to ensure that all chemical residues are eliminated. However, it is important to rinse the screen thoroughly to eliminate any remaining residues.
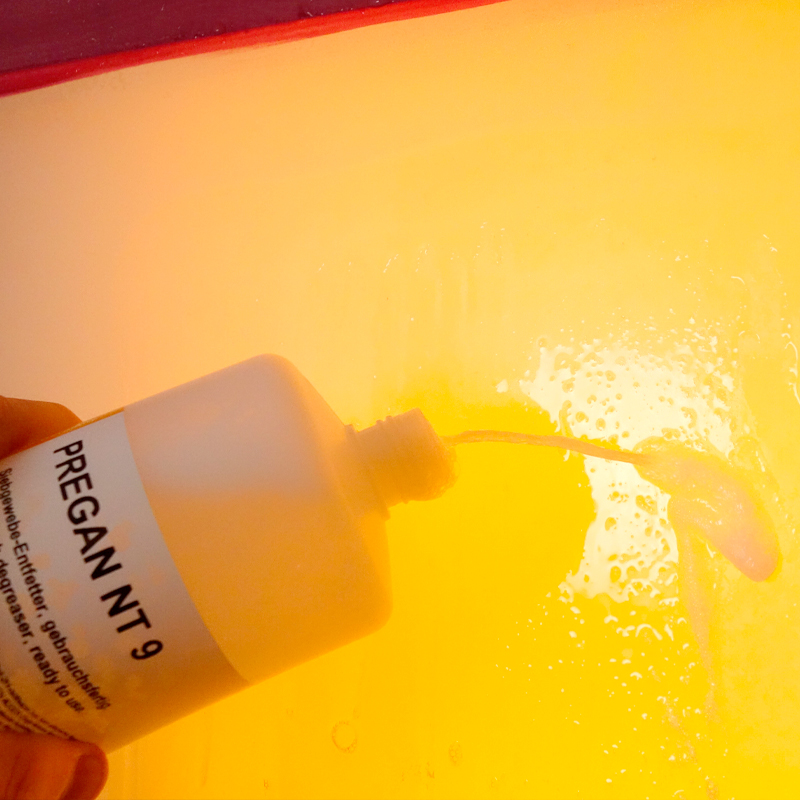
Step 1: How to Apply the Screen Degreaser
There are multiple screen degreasers available for screen printing. There are as many degreasers as there are manufacturers of chemicals and emulsions for screen printing. Some generate more foam, some have a better smell, and some have more or less color. However, all screen degreasers have the same function: to degrease the screen mesh and improve the mesh wetting.
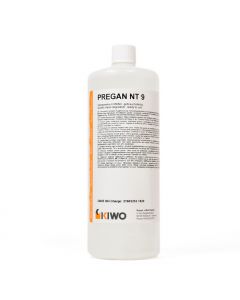
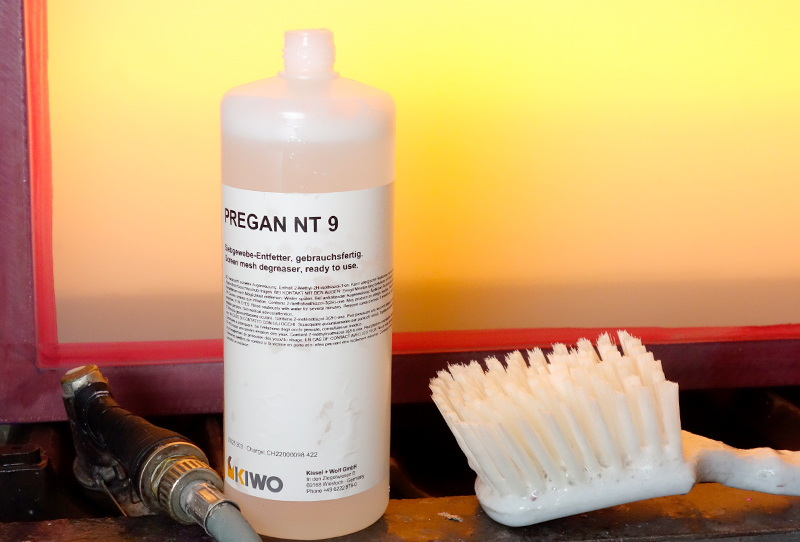
Depending on the manufacturer, but generally speaking, they are ready to use directly. However, it may be necessary to dilute the detergent if it is a concentrate. In any case, it is necessary to follow the manufacturer's instructions. We use the NT9 degreaser.
Some people use household soaps or detergents, but it is not advisable. Among other things, many contain silicones and other chemical compounds that are not suitable for degreasing a screen.
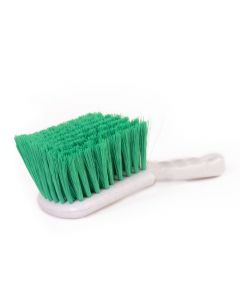
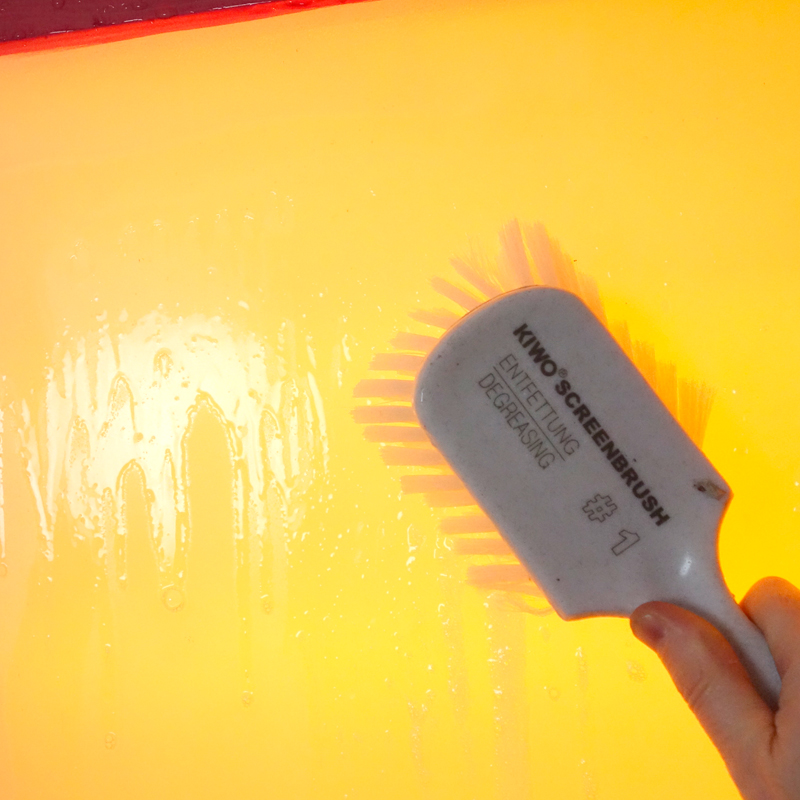
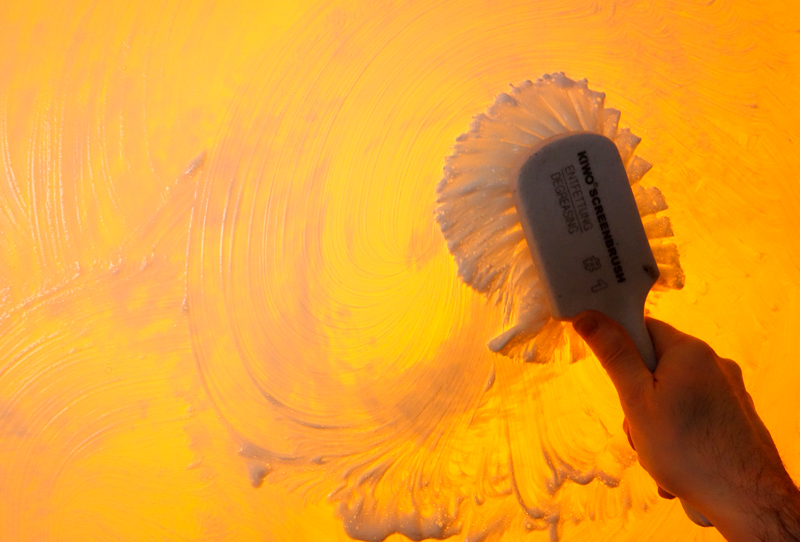
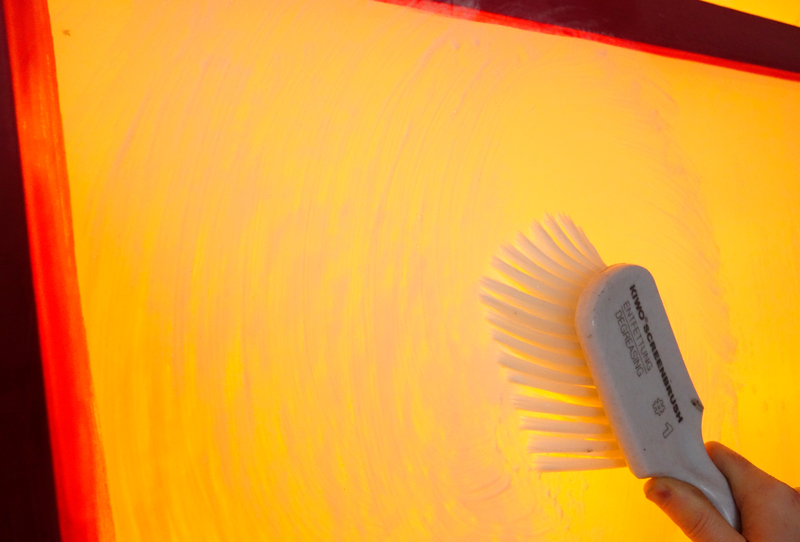
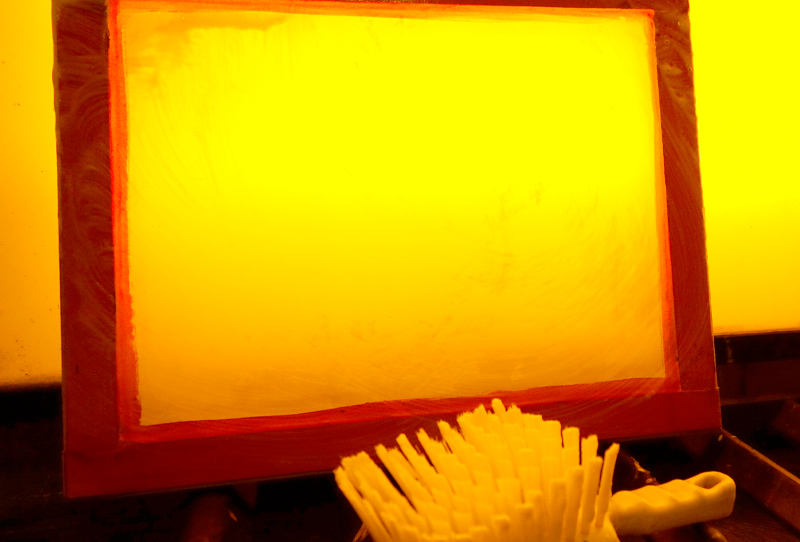
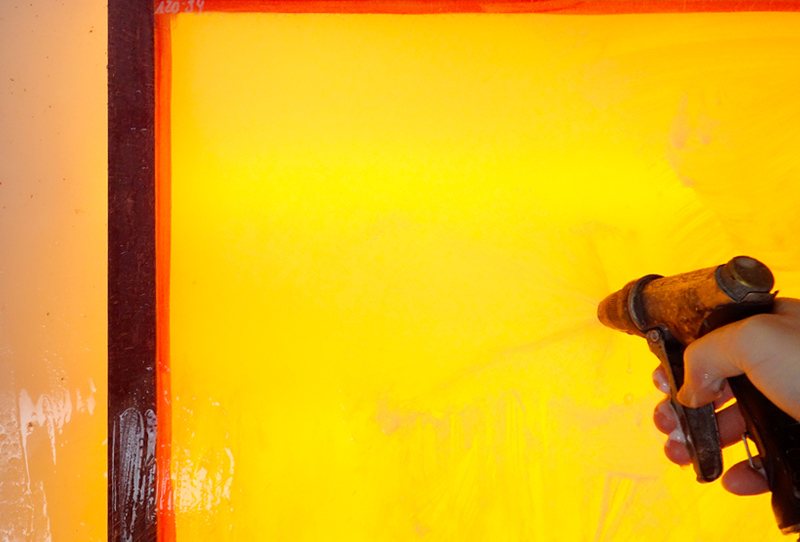
Moisten the screen with a little water. Apply the degreaser detergent directly onto the mesh and rub in circles, if possible, with a nylon bristle brush. This should be done on both sides of the screen. A synthetic sponge can also be used. It is very important that the brush or sponge is clean and only used for this purpose.
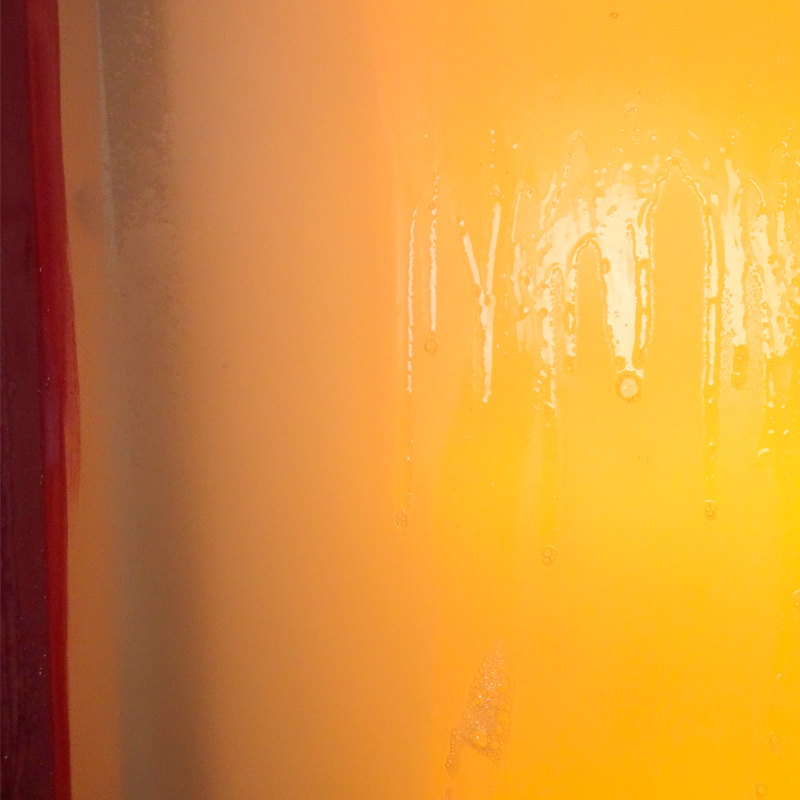
Step 2: Let the degreasing soap work
In order for the degreasing process to be effective, we must let the soap work on the screen for 2-3 minutes. The degreasing soap, in addition to cleaning, changes the properties of the fabric. This improves the wetting ability of the fabric so that the screen printing emulsions adhere evenly.
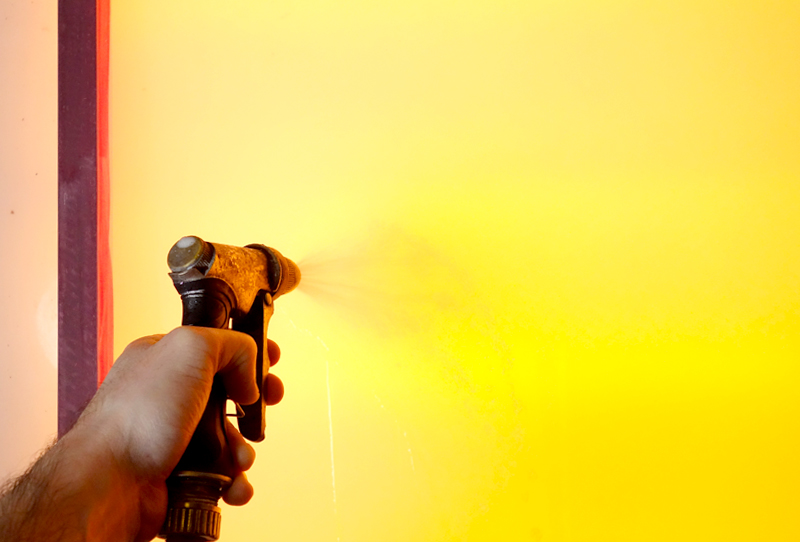
Step 3: Rinsing off the degreasing soap
After the allotted time, we must thoroughly rinse the entire screen on both sides to remove any soap residue. Sometimes, there may be imperceptible residue left on the frame, so it's important to eliminate all remnants. If any residue is left, it will create circles that will affect the print. It is not necessary to use high-pressure water.
Step 4: Drying the screen printing screen
Once the screen has been rinsed, it must be dried before coat the screen with photo emulsion. To speed up the process, we can use a glass squeegee with rubber blade or even a wet vacuum cleaner. We must always ensure that the blade is clean.
Then, we can let it dry at room temperature, with a hair dryer, a bathroom heater, or in a screen drying oven. When using systems that incorporate ventilation, we must ensure that no dust is adhering to the fabric. In this case, it does not matter if the drying is done vertically or horizontally.
Important: once the screen is degreased, the mesh should not be touched with your fingers, or we will have to degrease it again.
Once degreased and dry, we can store the screen frame in a sheltered place, but we must coat them with screen printing photo emulsion as soon as possible to avoid dust accumulating on the fabric. In this case, we should repeat the degreasing process.
If we have done it correctly, the fabric will be ready to receive any type of direct or capillary screen printing emulsion. Good results will be achieved in the reproduction of halftone images and with great detail; as long as the fabric and emulsion are capable of reproducing it.