® Carlos Alguacil for Rittagraf
Photopolymer Stamps: A Professional Technique Within Everyone's Reach
Today, there are plenty of videos and tutorials about making stamps using photopolymer plates and UV nail lamps. But this technique didn’t emerge as a craft trend - it originated from professional workshop experimentation and technical development within the field of graphic printing.
Since the early 2010s, we have been exploring the potential of photopolymer as a material for creative and functional applications beyond traditional flexography. Over time, this method has been refined through hands-on practice and educational work, eventually being documented in specialist publications.
At Rittagraf, we have continued to evolve this approach, bringing it to a wider audience through a dedicated stamp-making kit and a professional methodology. This tutorial is the result: a complete, experience-based guide designed for those who want to learn the DIY rubber stamps process in depth and achieve consistently high-quality results.
What is Photopolymer and Why is It Ideal for Stamp Making
Photopolymer plates are light-sensitive materials widely used in industrial and graphic environments to reproduce relief images. Their most common applications are in flexography, technical marking or functional printing, although they have also been adopted in print workshops for artistic and experimental processes.
They work through a photochemical reaction: when exposed to ultraviolet (UV) light, the areas that receive light harden, while those kept in shadow remain soluble and are removed during water development.
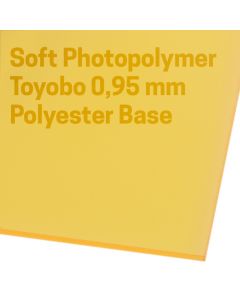
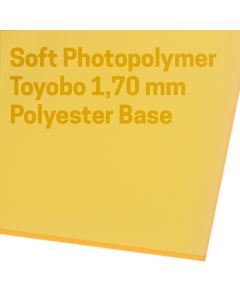
The photopolymer plates we recommend at Rittagraf, such as Toyobo plates with flexible bases and soft rubber, are designed to work under a broad UV light spectrum, develop in warm water, and offer a surface capable of reproducing a wide range of inks with excellent definition.
These features allow you to produce strong, precise and durable stamps with very accessible tools. With a simple UV nail lamp and a bit of practice, you can create everything from small stamps to full-size printing plates, with a level of quality comparable to industrial processes.
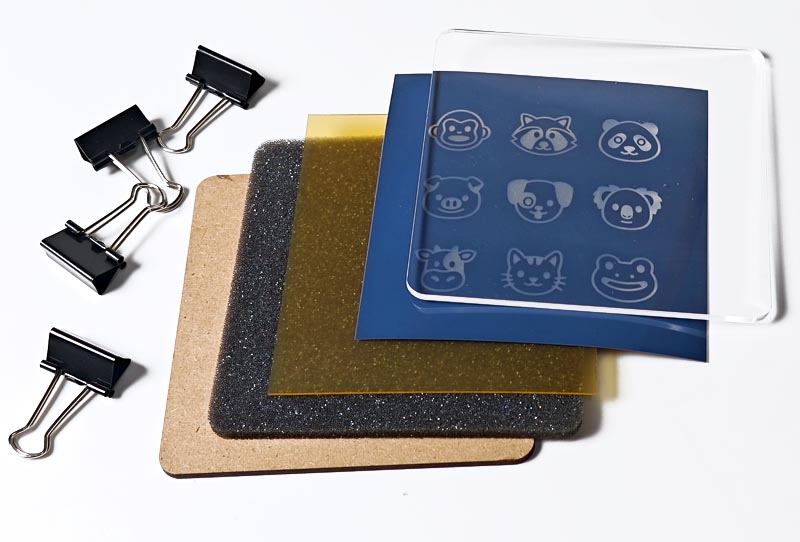
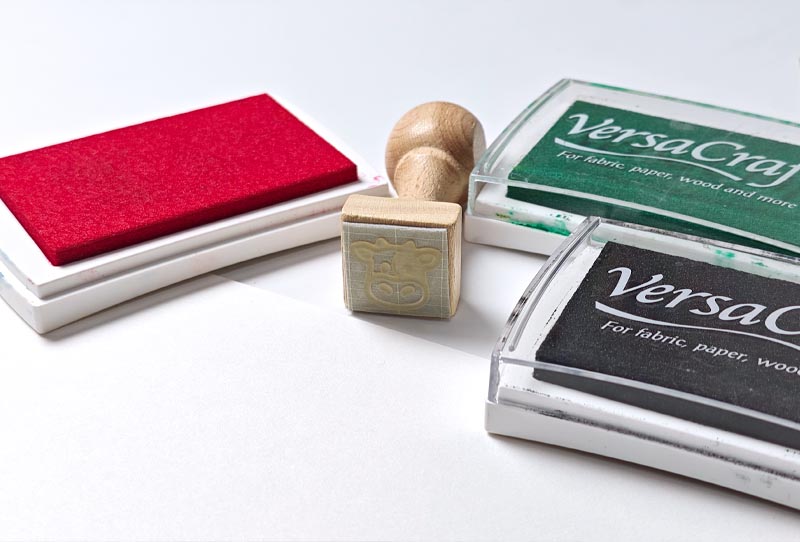
Materials Needed to Make Your Photopolymer Stamps
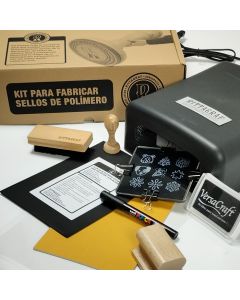
You can purchase these materials individually or as part of our photopolymer stamp kit, which includes everything needed to work reliably:
-Photopolymer plate for water development
-Photolith (hand-drawn or digitally printed)
-UV nail curing lamp (LED or fluorescent)
-Transparent glass or acrylic sheet
-Foam (for uniform pressure)
-Rigid base (wood or similar)
-Clamps
-Container with warm water (25–30ºC)
-Soft or medium-hard bristle brush
-Hair dryer or fan
-Precision cutter or scissors
-Double-sided adhesive tape or adhesive foam
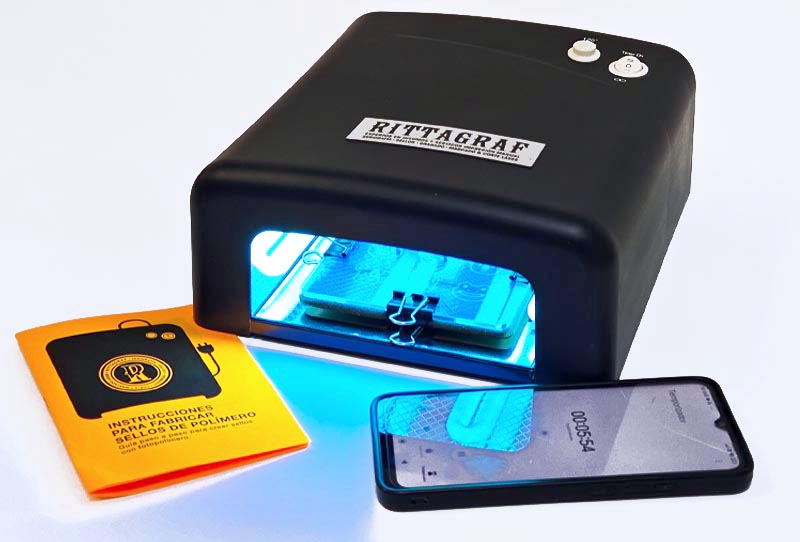
This process is usually carried out with a typical UV machine, which acts as a compact insulator for curing photopolymer sheets used in the manufacture of segels. These types of machines use ultraviolet light in lengths suitable for photopolymer and allow you to obtain consistent results in small and medium formats.
At Rittagraf we use this UV machine for a photopolymer specifically selected for this process ore, available both individually and as an integrated part of this kit for the manufacture of polymer stamps.
Complete Guide to Making Photopolymer Stamps Step by Step
Step 1 – Preparing the Polymer and the Positive (Photolith)
Always work under dim light to avoid accidental exposure of the photopolymer. This material is photosensitive and should be handled away from direct sunlight or intense light sources. Ideally, work under yellow safety light or in low light conditions.
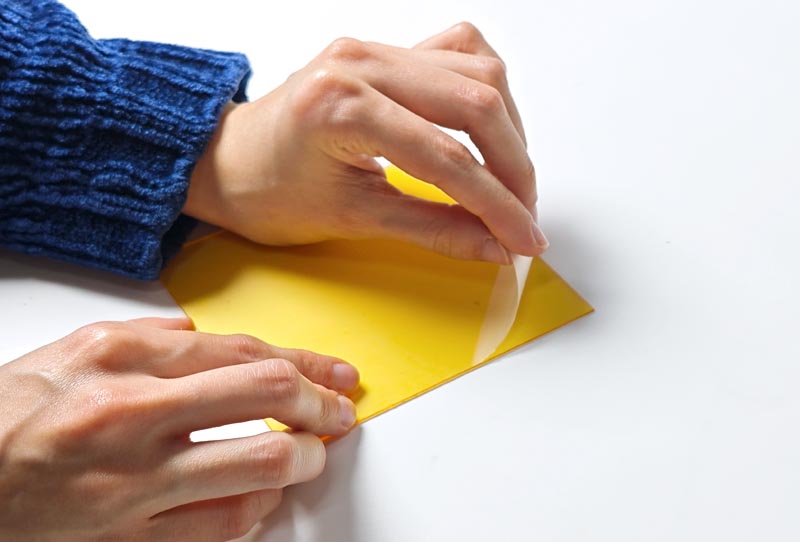
- Cut the plate to the desired size. Store the unused portion in its opaque packaging.
- Remove the protective film from the active side of the plate. Prepare your positive: it must be sharp, with solid black areas and clean transparent zones. The printed side should be in direct contact with the plate.
What makes a good positive?
A quality positive makes all the difference. You can draw it by hand (using an opaque marker on acetate) or print it digitally on polyester using laser or inkjet technology. In all cases, make sure the black areas block light completely.
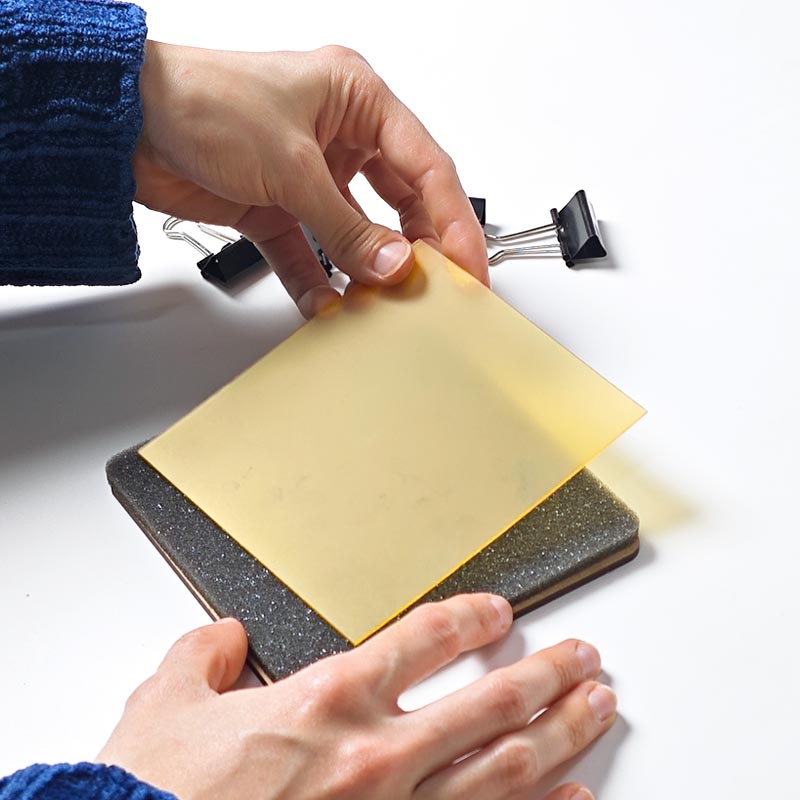
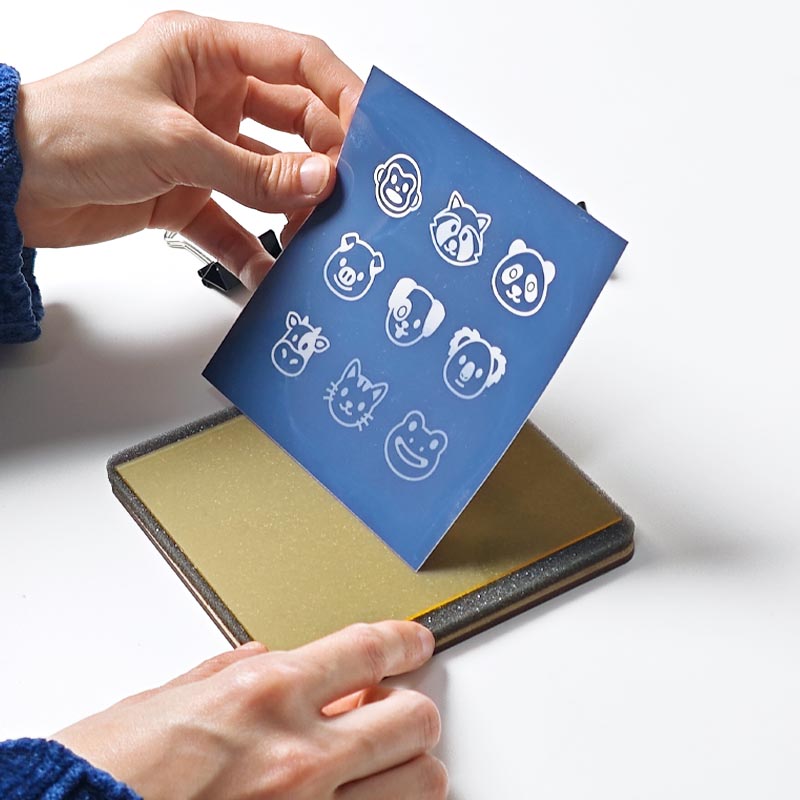
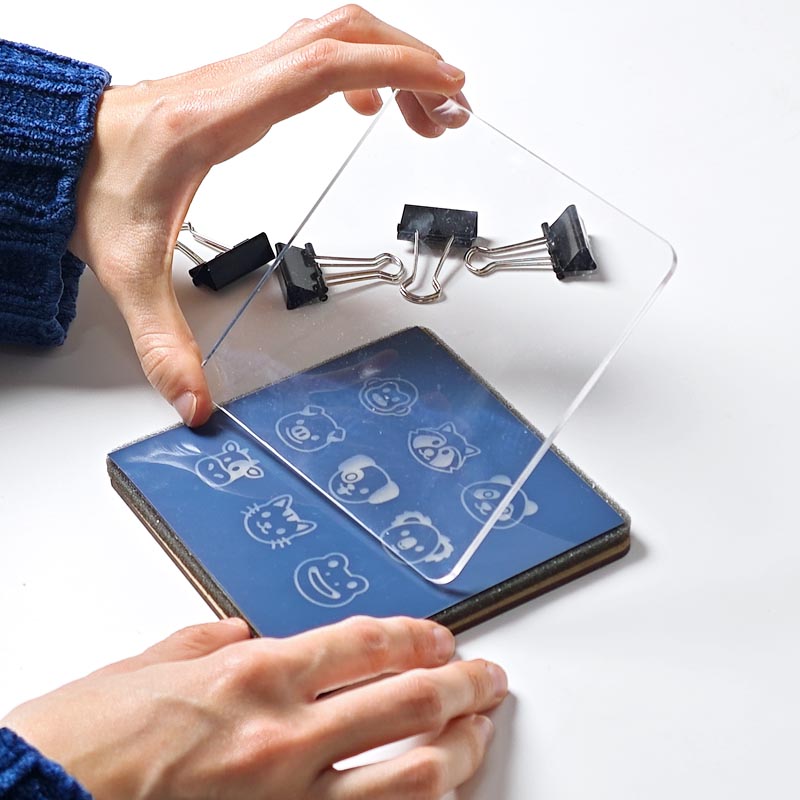
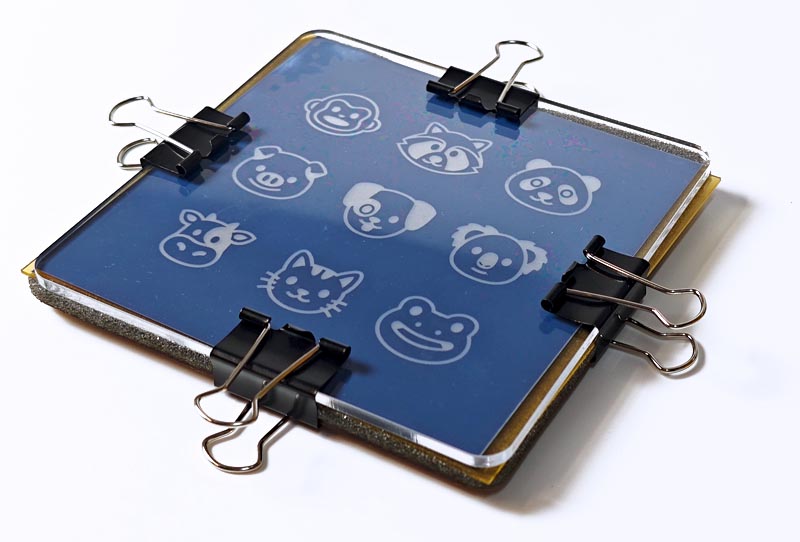
Step 2 – Assembling the Contact Setup Between Plate and Positive
To ensure a clean reproduction of the stamp, it's crucial to achieve perfect contact between the positive and the photopolymer plate. Professional exposure units use vacuum systems to achieve this; in our case, we’ll create a manual contact assembly using foam to ensure uniform pressure between the plate and the positive.
- Place the positive directly on the photopolymer plate, with the printed side facing down, in contact with the active surface of the plate.
- Build the stack in this order (from bottom to top): rigid base, foam, photopolymer plate, positive, and finally, the glass or acrylic sheet.
- Clamp the assembly tightly to ensure firm, uniform contact. Poor contact can lead to blurry edges or poorly defined areas.
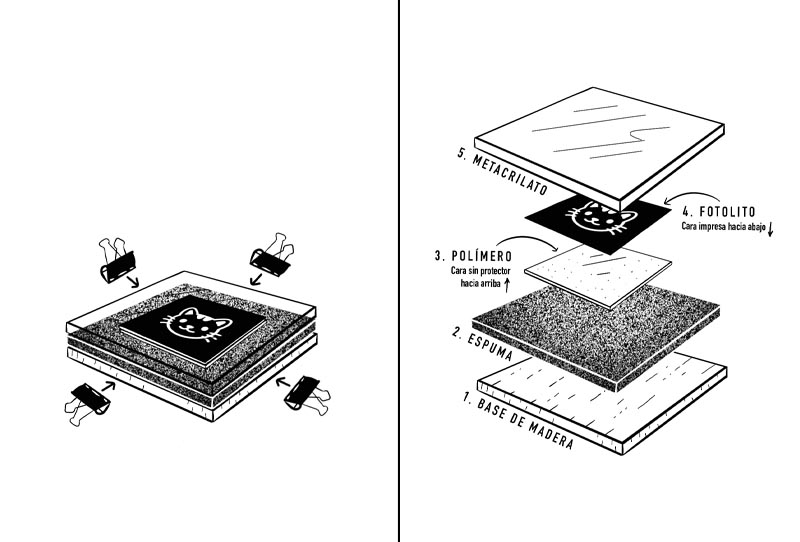
© llustration courtesy of @ukashaka
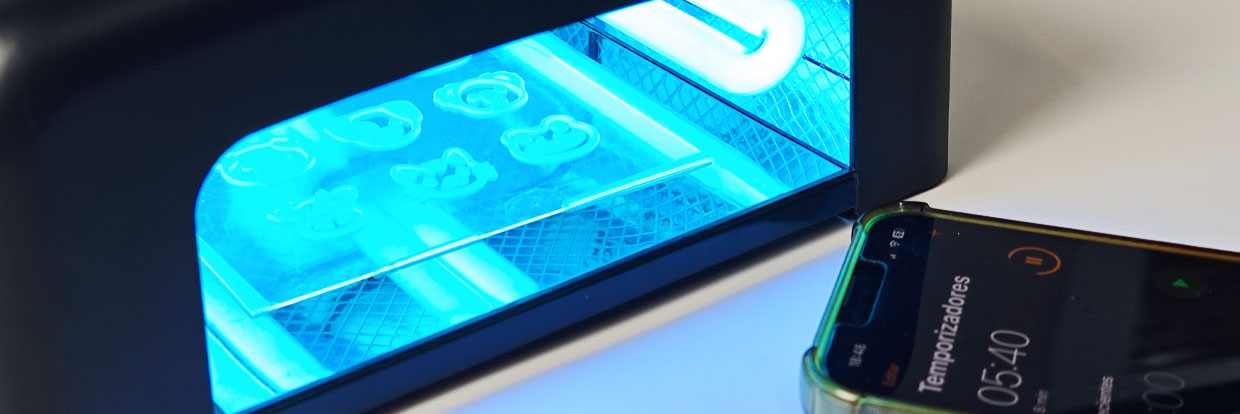
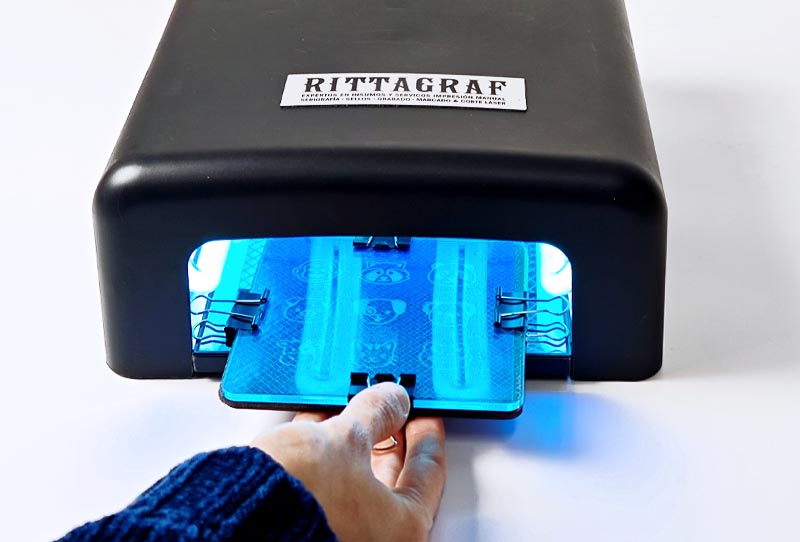
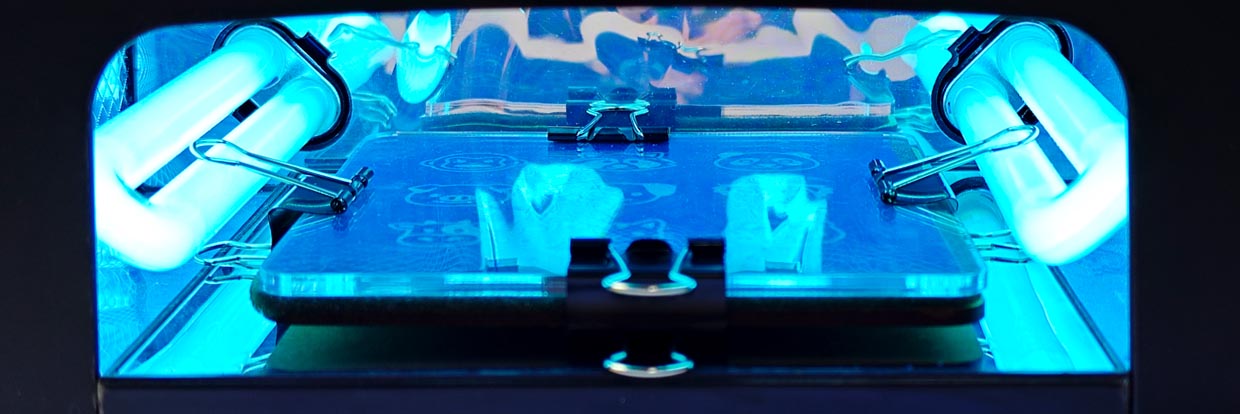
Step 3 – Exposure to Ultraviolet Light
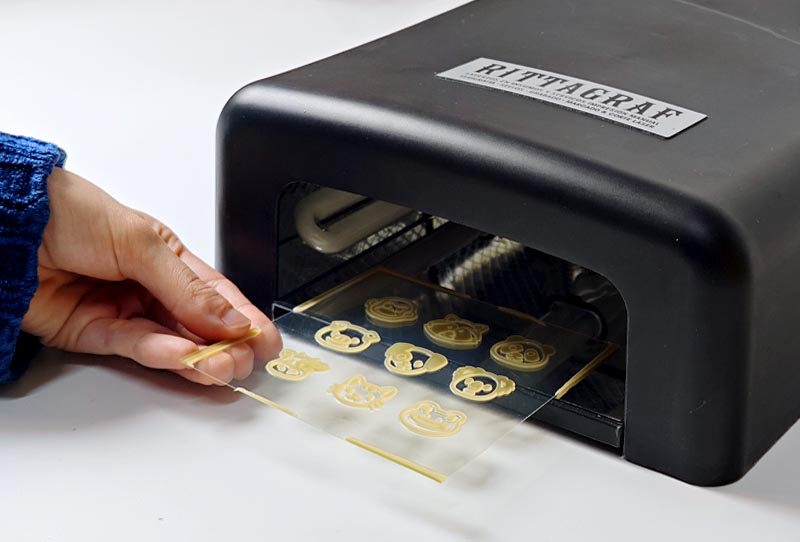
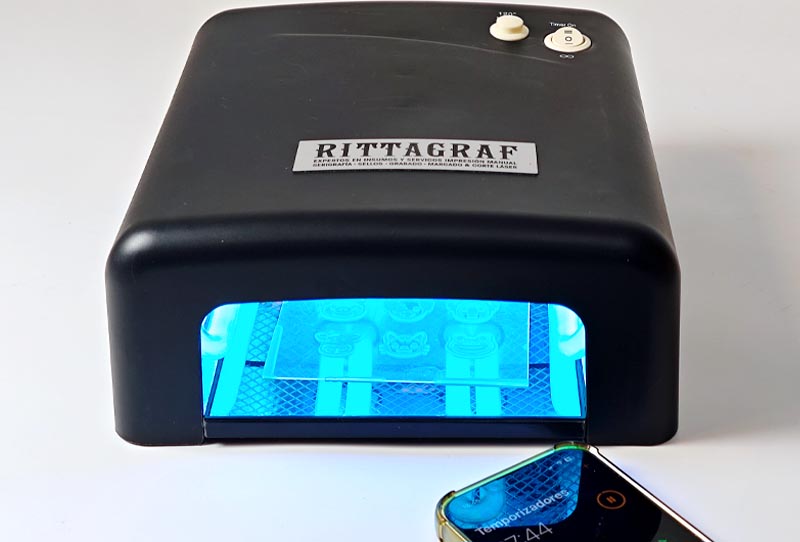
- Place the contact assembly into the UV nail lamp, with the glass facing the light source.
Estimated exposure time: between 5 and 10 minutes. This depends on the quality of the positive, the type of plate, the UV lamp power, and light type. Using the UV lamp included in our stamp kit, a high-quality inkjet-printed positive, and Toyobo plates, the recommended exposure time is around 8 minutes. This is a reference value, always test first.
Key exposure factors:
-
- Opacity and density of the positive
- Type and thickness of the photopolymer
- UV lamp power and type (LED or fluorescent)
- Type of contact material (glass or acrylic)
*Too little exposure means the polymer won’t harden properly and will wash away during development. Too much exposure can cause detail loss and make development harder.
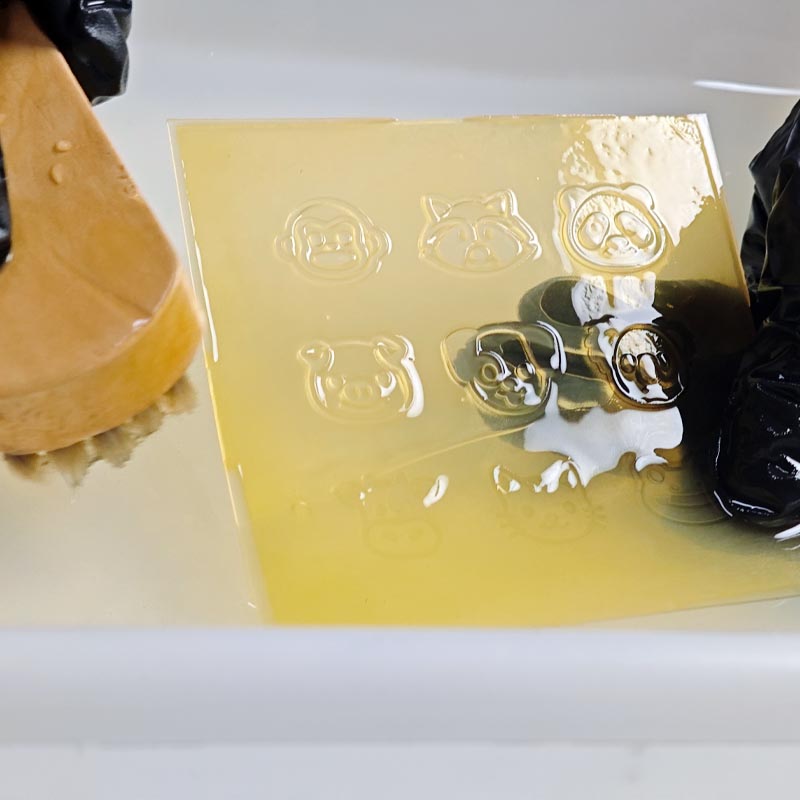
Step 4 – Washing Out in Warm Water
- Submerge the exposed plate in a container of warm water between 25–30 ºC.
Use the brush in circular motions, applying gentle pressure. The unexposed material will begin to dissolve.
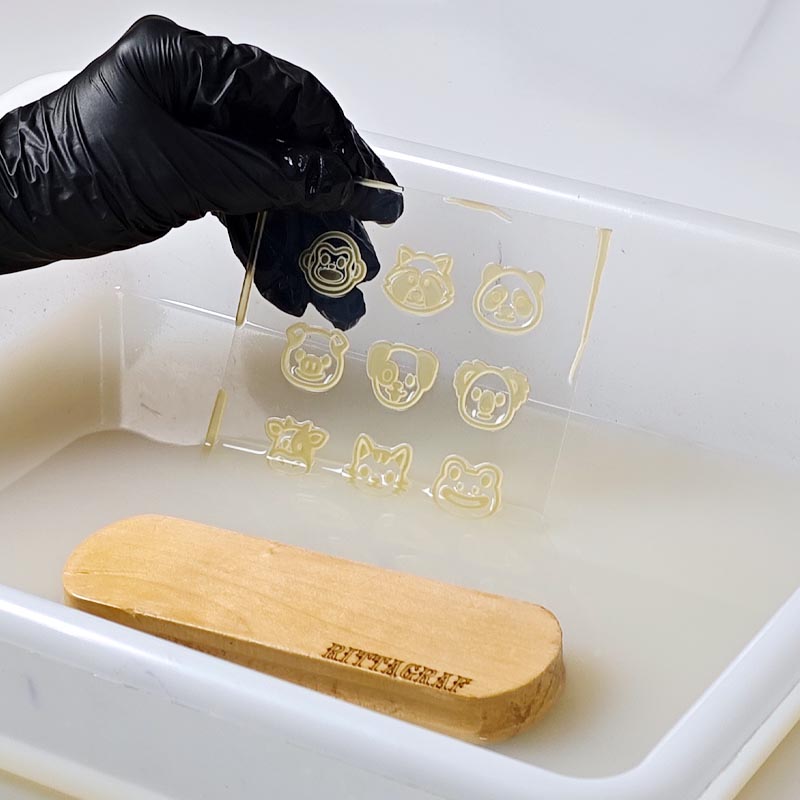
Development is complete when the plate is no longer sticky and the base is fully transparent.
Change the water if it becomes cloudy to ensure a clean process.
Avoid:
- Exceeding 35 ºC
- Overdeveloping (for a 5x5 cm stamp using 0.95 mm plates, 3–4 minutes is usually enough)


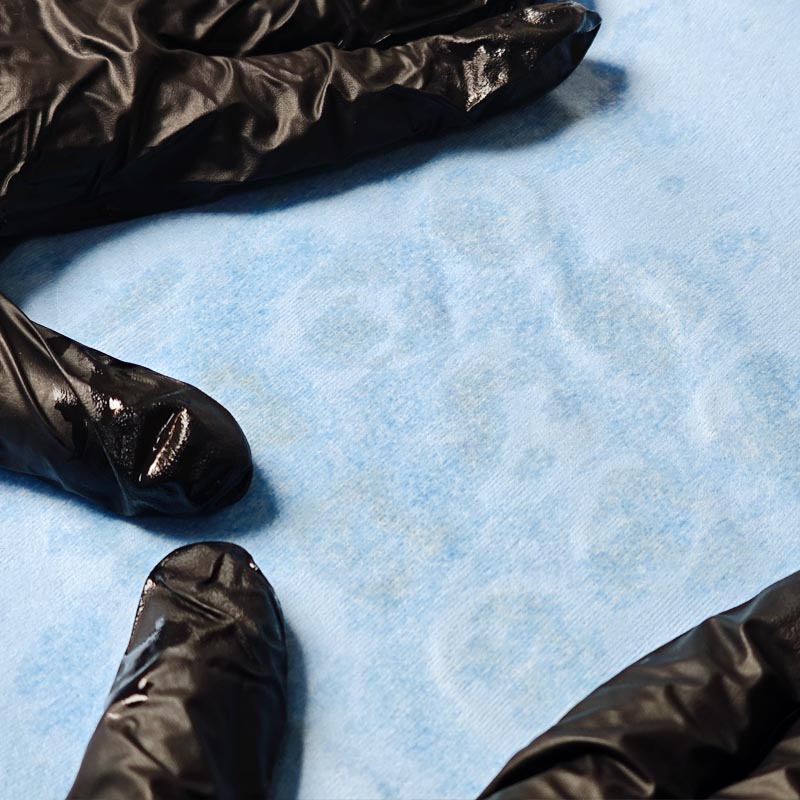
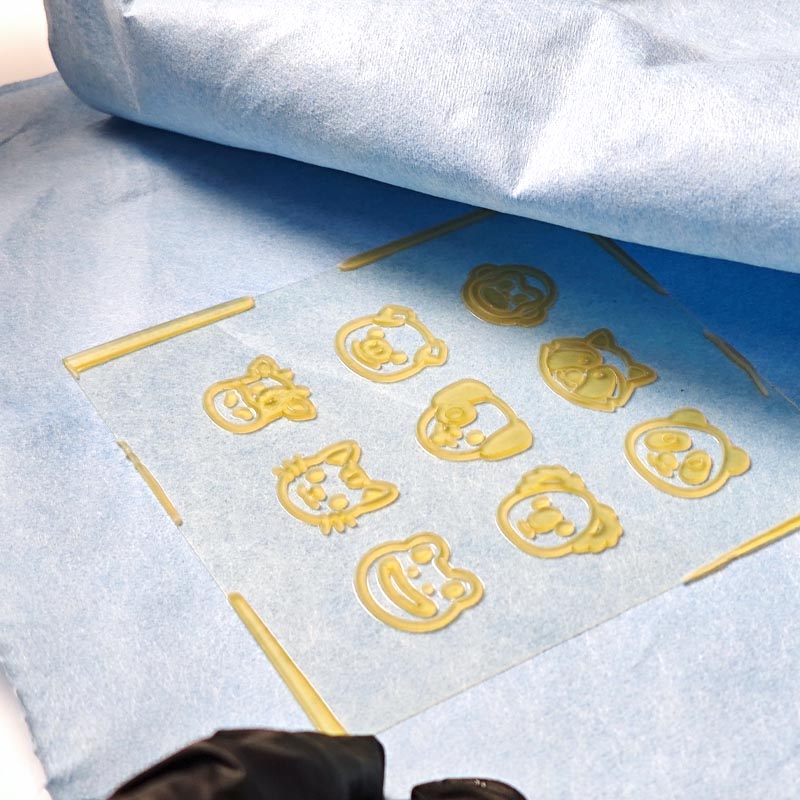
Step 5 – Stopping the Process and Drying
- Rinse the plate with cold water to stop reactivity.
- Dry it completely using a cloth or towel followed by a hair dryer or heater (don’t exceed 60 ºC).
*Ensure there’s no moisture before proceeding.
Step 6 – Post-Exposure (Final Curing)
- Expose the plate again in the UV lamp for at least the same duration as the first exposure.
- This can also be done in direct sunlight.
- A color change (typically to a greenish tone) indicates full curing. The surface should no longer feel sticky.
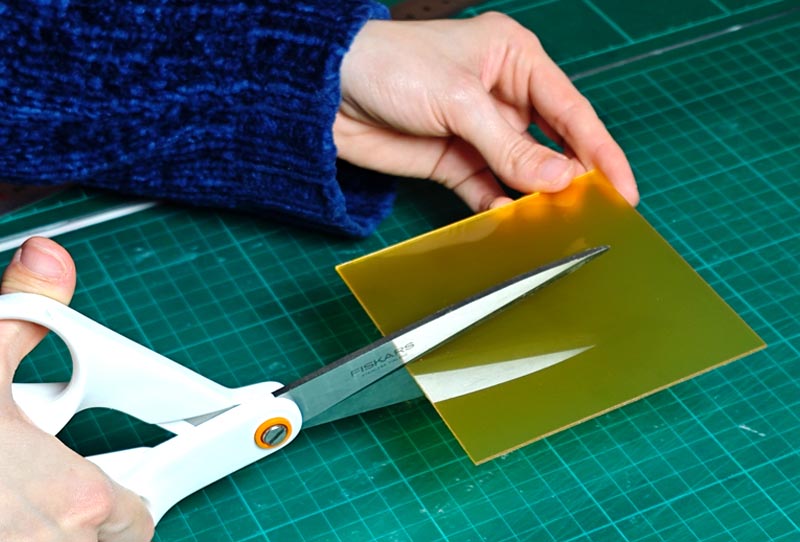
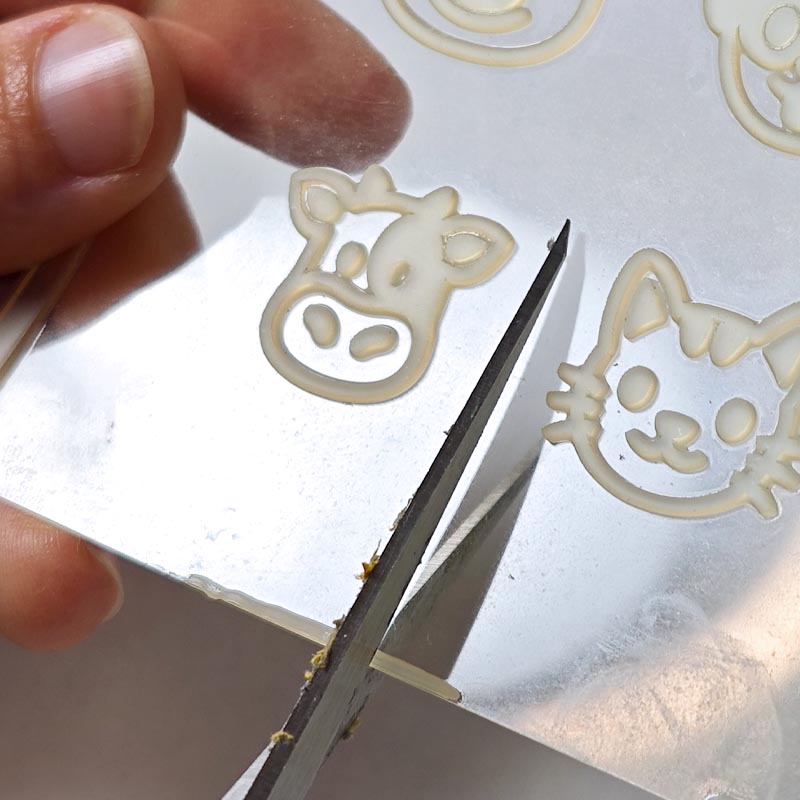
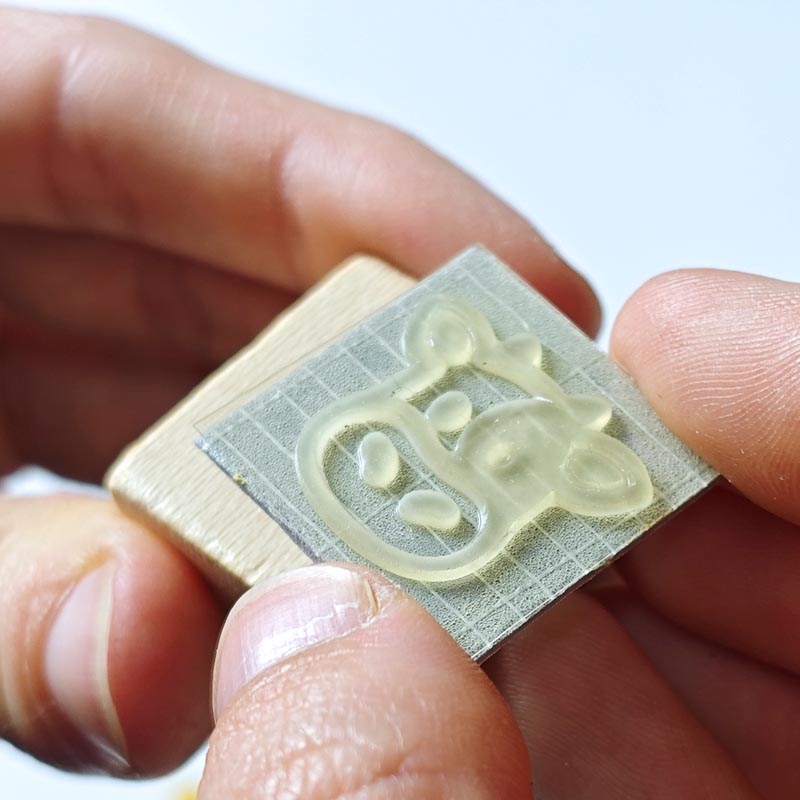
Step 7 – Cutting and Mounting the Stamp
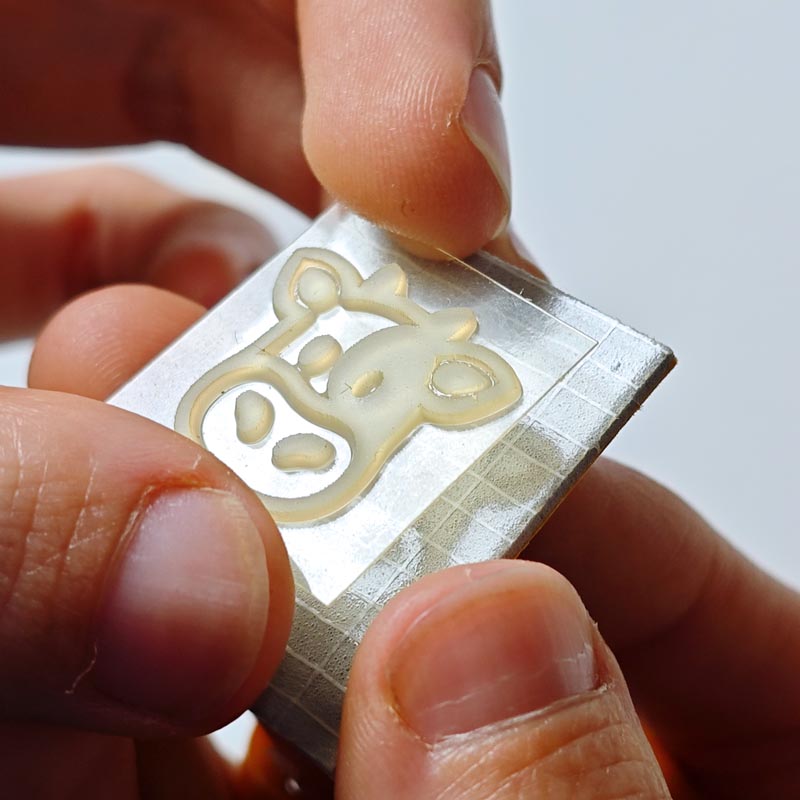
- Cut out the stamp with a precision cutter or scissors.
- Mount it onto a base using double-sided adhesive or foam tape. The foam helps distribute pressure evenly during stamping, improving print quality. If the plate is thick and soft enough, foam may not be necessary.
- Attach the stamp to the chosen base — ready to print!
Consejo de Utilización de los sellos de Polímero
Una de las ventajas de los sellos de fotopolímero es que es un material accesible y fácil de manipular.
Por otro lado, los sellos fabricados con este tipo de material tienen algunos pequeños inconvenientes. Las planchas se revelan con agua y la humedad puede deteriorarlas. Podrás utilizar cualquier tipo de tinta de sello, pero la mayoría de tintas de sello son de base agua. Esto no destruirá el sello a corto plazo, pero hay que vigilar con la limpieza. Lo ideal es evitar el lavado de los sellos. Si queremos cambiar de color, basta con reestampar el sello varias veces. Si la limpieza fuera inevitable, podemos hacerlo con aceite o con algún disolvente suave. Tampoco hay que exagerar; no pasa nada si lavamos el sello con alcohol o agua unas cuantas veces si luego lo secamos bien. Pero recomendamos evitarlo siempre que sea posible.
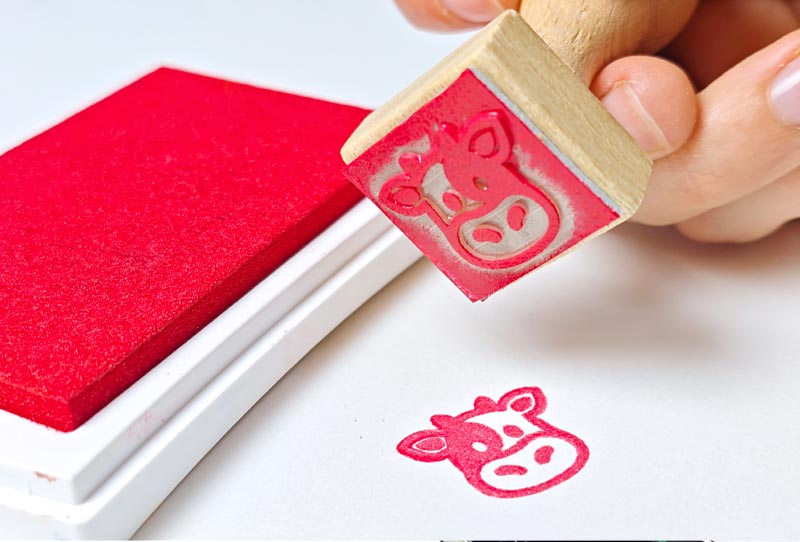
Tips for Using Photopolymer Stamps
Photopolymer is easy to work with and gives excellent results. Still, it requires some care:
- Moisture can damage the plate. Avoid washing the stamp unless necessary.
- To change ink color, simply stamp repeatedly until the previous ink is removed.
- If cleaning is needed, use light oil or mild solvent. Occasional cleaning with water or alcohol is fine if the stamp is dried thoroughly afterwards.
Creating your own rubber stamps using photopolymer plates and a UV nail lamp is accessible, but requires technical attention. By following these steps and maintaining quality control throughout, you’ll be able to produce high-definition, durable stamps with professional results.
At Rittagraf, we support you through every step of your printmaking process. Explore our full range of materials for engraving, stamping, and photomechanical techniques in our online store. Discover our custom stamp-making services as well.