® Carlos Alguacil for Rittagraf
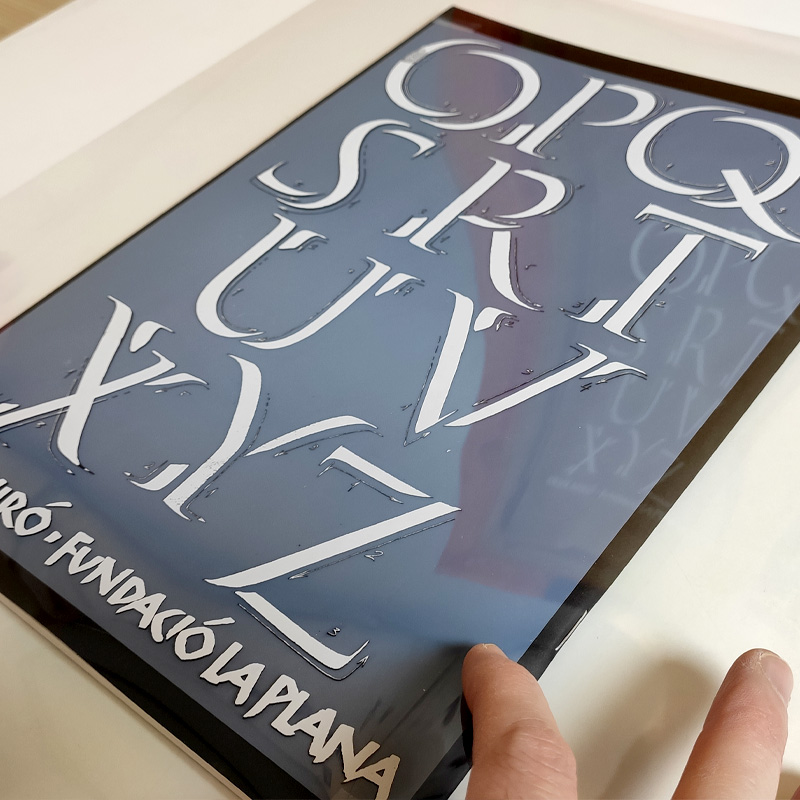
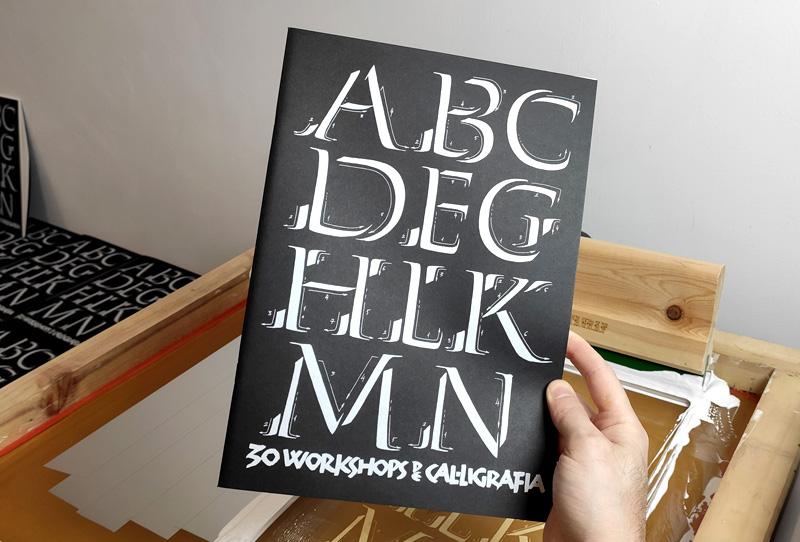
Imagine a world where screen printing meets calligraphy, where white ink dares to challenge black paper in an elegant dance of creativity. In this exciting tutorial, we showcase an exceptional project that combines the talent of calligrapher Oriol Miró with the versatility of paper screen printing.
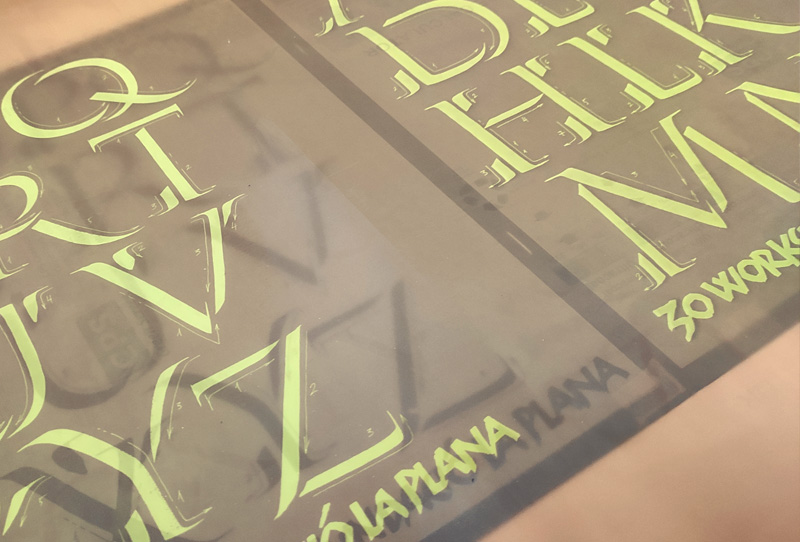
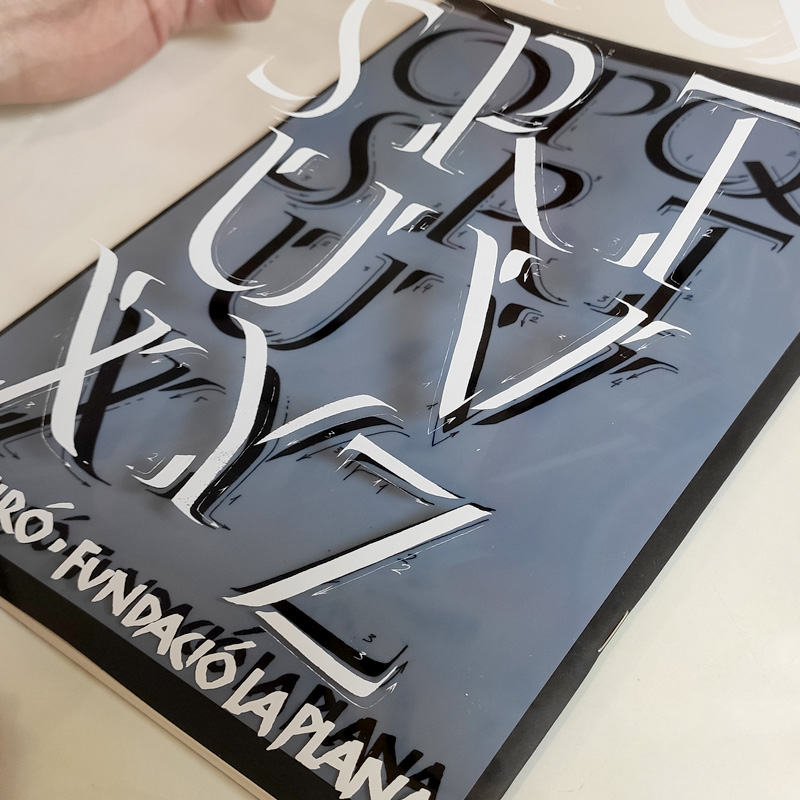
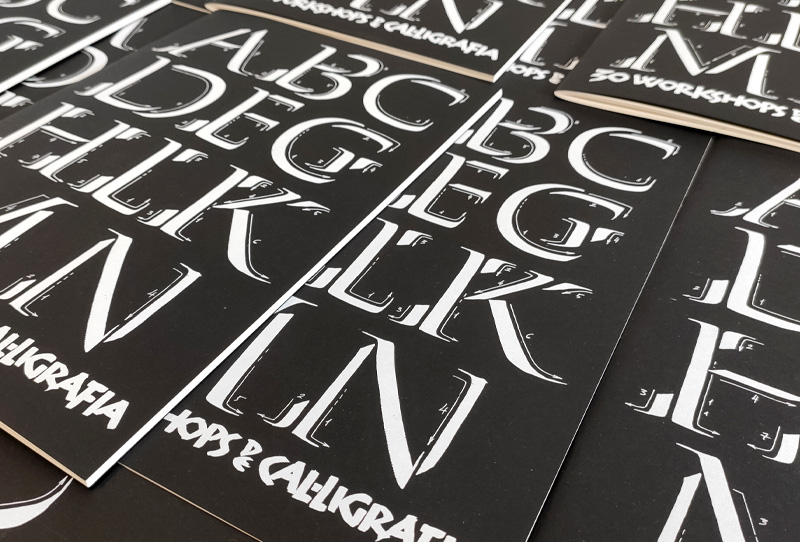
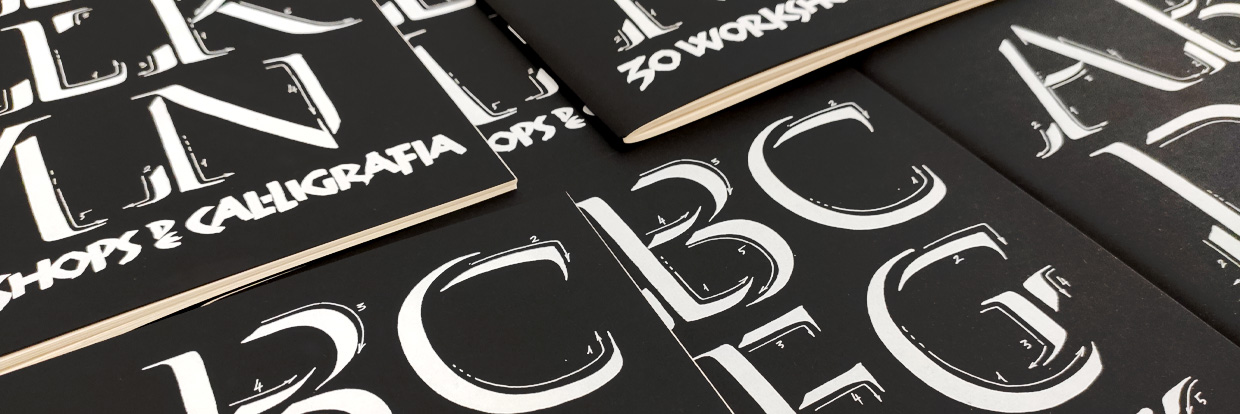
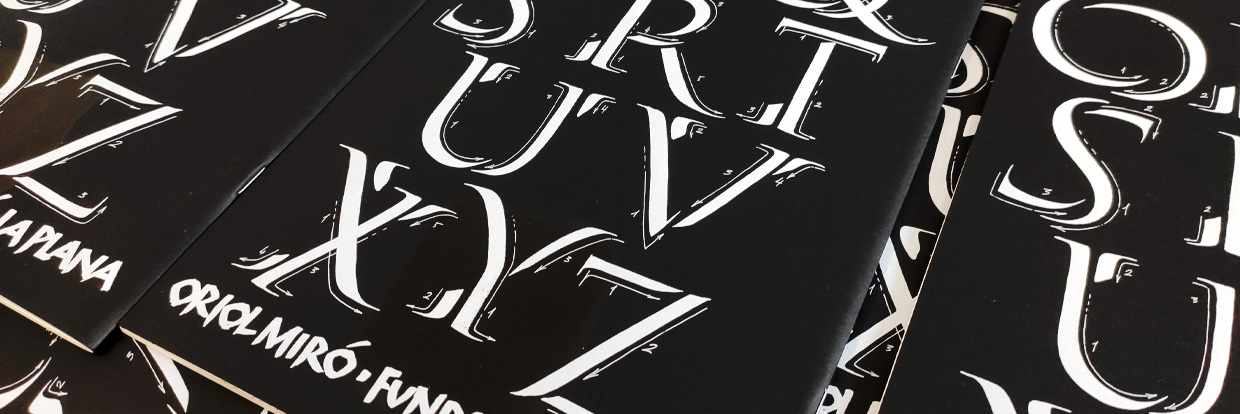
Our friend Oriol Miró had a special gift in mind for his students in the 30th Gothic Versal Calligraphy Workshop held at Fundació la Plana. A unique idea: customizing calligraphy notebooks with didactic screen prints of his work. We rarely undertake third-party editions unless the project inspires us, and this was one of those exceptional cases.
With a small challenge at hand: Oriol Miró's calligraphy in great detail, printing on pre-assembled black cardboard notebooks, and using white water-based screen printing ink. What could possibly go wrong? It seemed like the perfect opportunity to test our inks in a real project. So, here we share some tips to get the most out of white screen printing on black with water-based inks.
Preparation and Setup Before Screen Printing
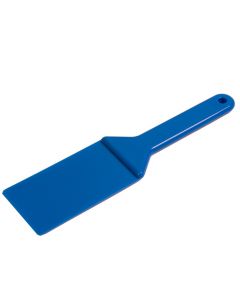
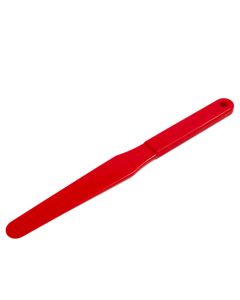
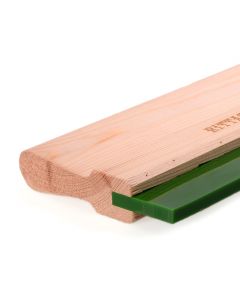
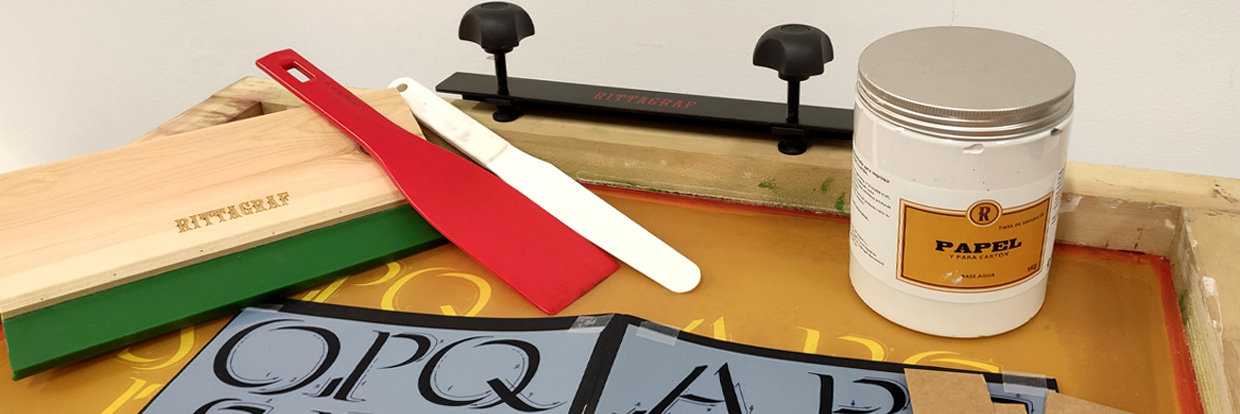
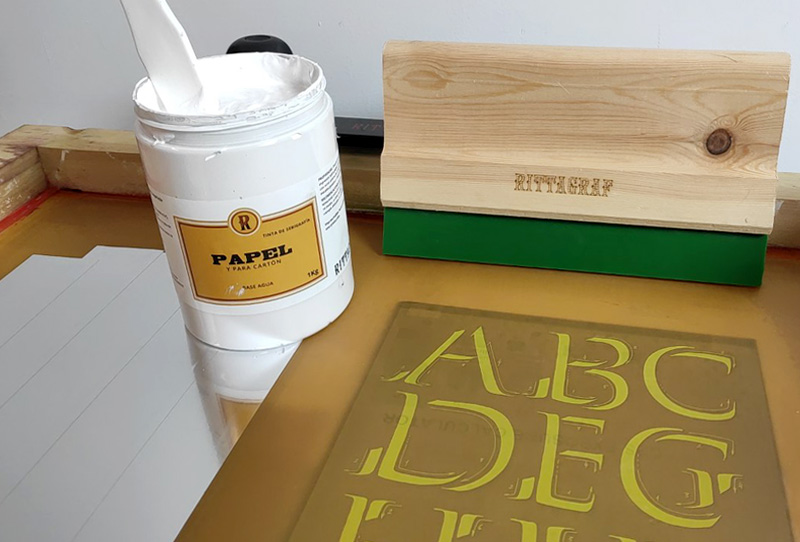
Before embarking on any screen printing project, it's essential to have all your materials prepared: the screen, ink, printing substrate, and the tools you'll need, such as a squeegee, spatulas for ink application, polyester tape for masking image areas or mesh defects, registration acetate or film, cardboard pieces for registration, adhesive tape, paper, and water for cleaning.
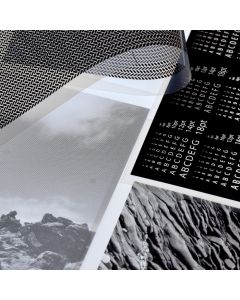
Selecting the Screen Mesh: How to Choose the Mesh Count
In any screen printing job, selecting the mesh thread count is crucial. Remember that an open mesh will allow more ink to pass through but will have less detail definition. To choose the mesh, you need to consider:
- The design: Images with fine lines or halftones will require higher mesh counts with smaller thread diameter and aperture.
- The printing substrate: Assess the porosity and roughness of the material.
- The screen printing ink: The ink density must be suitable for passing through the selected mesh.
These three parameters will guide your decision. An incorrect mesh choice could complicate the printing process and diminish the outcome. Of course, other factors come into play during the process, which may help improve or correct the printing, such as the squeegee rubber, the printing angle, pressure, and even the printing speed. Still, the initial mesh choice is crucial.
Choosing the Right Mesh Count
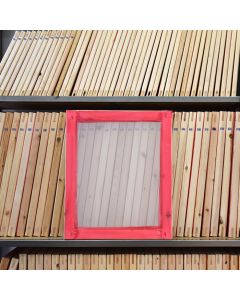
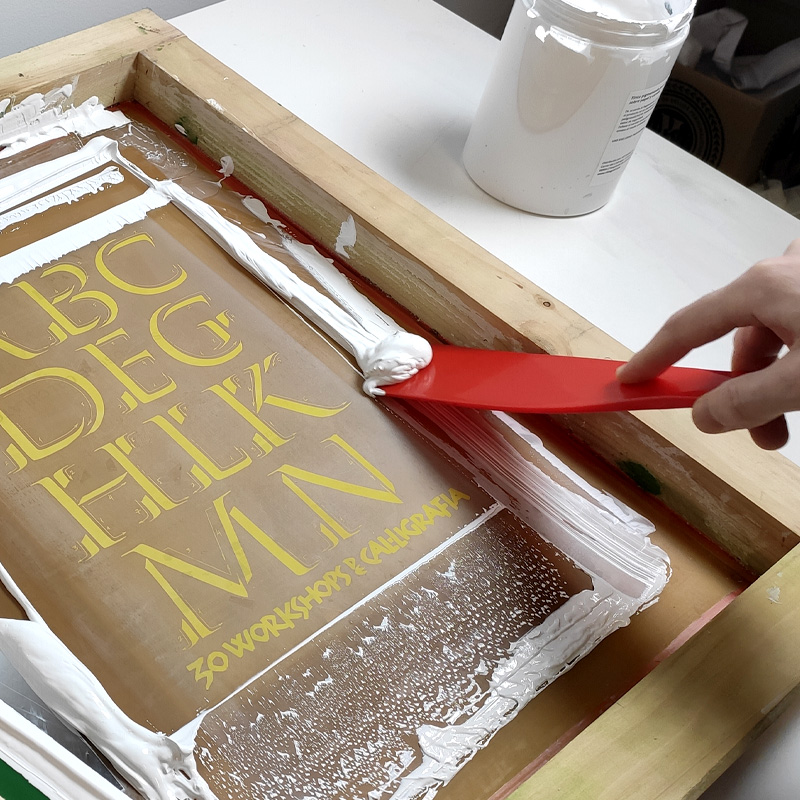
Taking into account all these variables, for this project, we've opted to use a 90 threads per cm yellow mesh. This mesh allowed us to capture all the detail needed to respect Oriol Miró's calligraphy strokes to the maximum. We've taken a bit of a risk regarding opacity because less ink is printed compared to what could be achieved with a 77 threads per cm mesh, for example. However, the resulting white still maintains the desired opacity.
Certainly, it's essential that the screen was made under proper emulsion and exposure conditions. A screen with incorrect emulsion or exposure and development can undermine and misalign the aforementioned considerations.
Of course, it's crucial that the screen printing screen has been created with the correct emulsification and exposure parameters. A screen with improper emulsification or exposure-revealing can undermine and misalign the considerations mentioned above. For more details and tips on emulsification and exposure of screen printing screens, we recommend visiting the following tutorials:
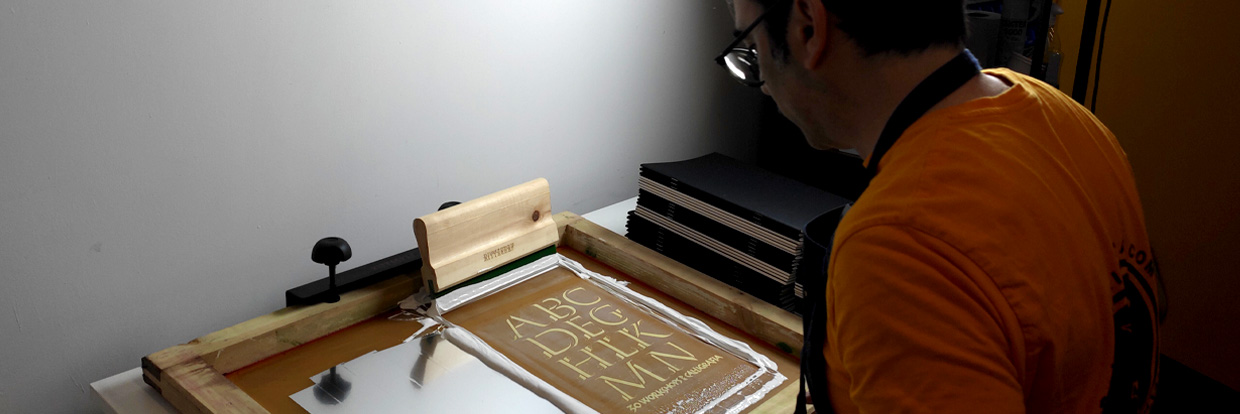
Placing the Screen on the Printing Table
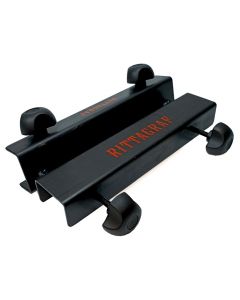
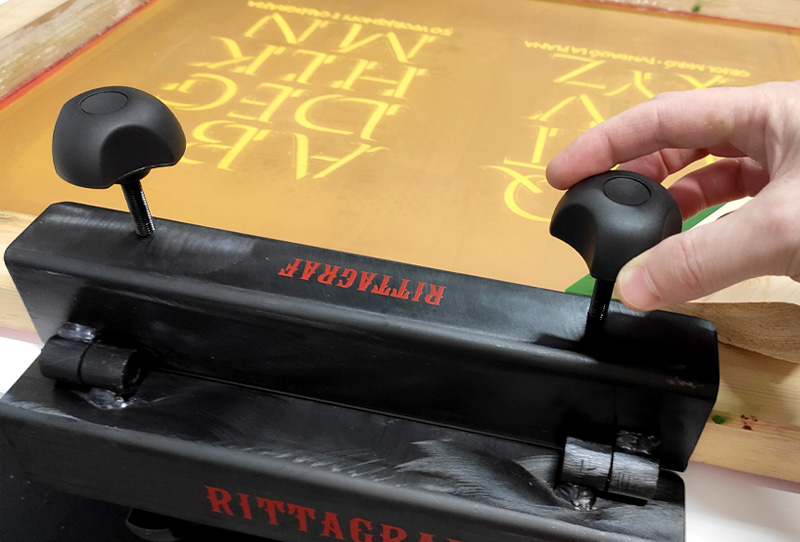
To perform any screen printing job, it's essential to position the screen accurately for each print. To do this manually, you need to use a printing table station or a screen printing hinge clamps.
In this case, we've used a professional tabletop hinge clamp. It's sturdy, precise, and doesn't require drilling or screwing anything. We've attached it to an inclined drawing table to make the printing process more comfortable. The knobs and swivel joints on the hinges allow you to secure the hinge to the table and fix the screen comfortably."
Screen Lift and Sample Layout in Screen Printing
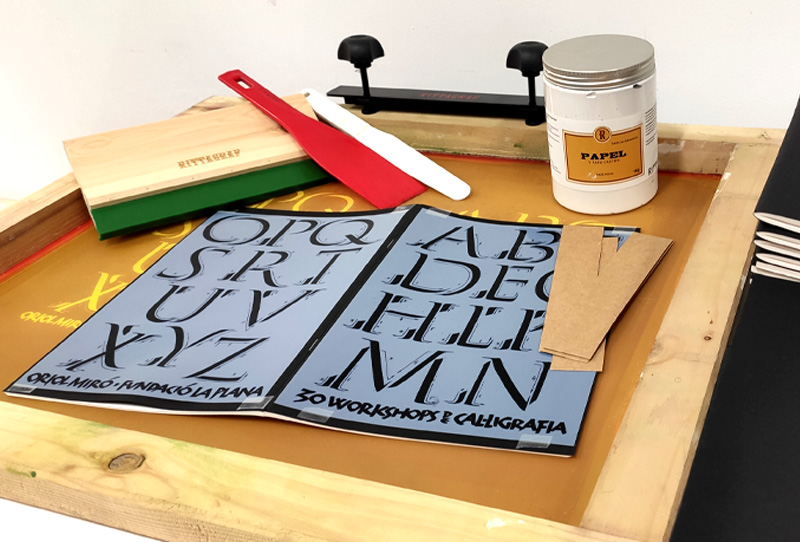
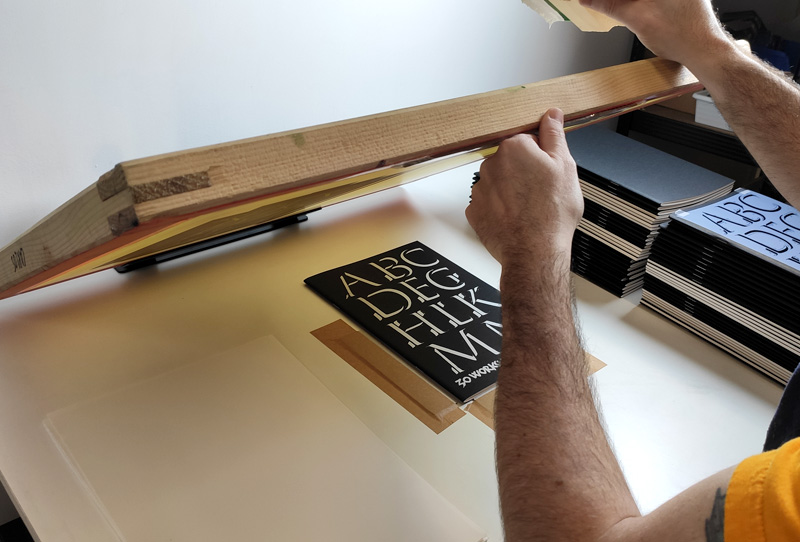
Before we start printing, we prepare a guide for the layout of the finished product; this is called a sample layout. The sample layout is the assembly of the image's placement on the substrate to be printed. For this, we'll use the original positives and place them on one of the substrates until they are in the desired position. To secure the digital positives, we'll use repositionable or mounting adhesive tape. This way, we won't damage our originals or the sample substrate (which we can reuse for printing).
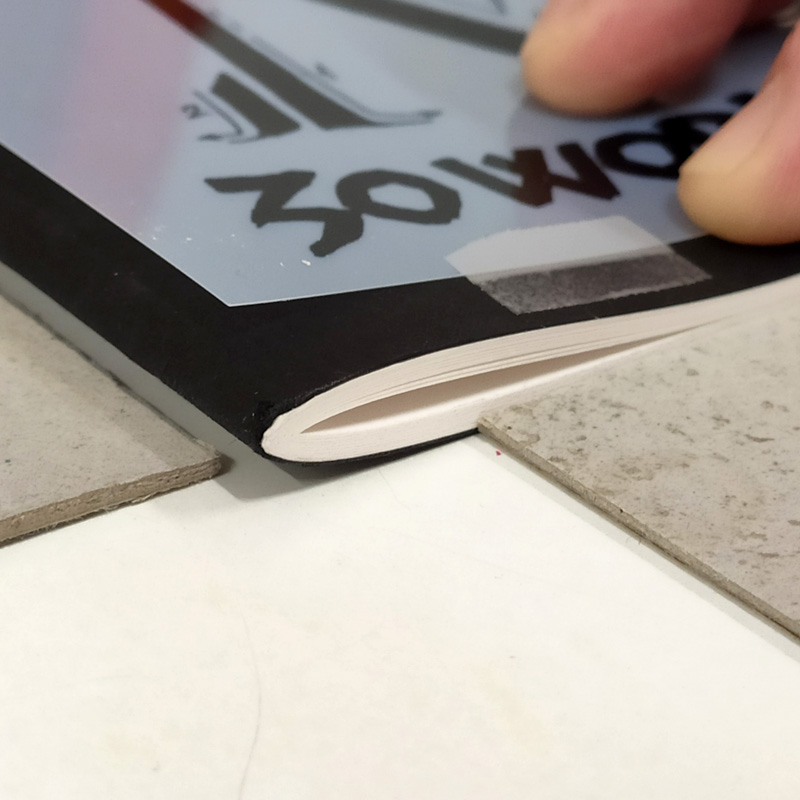
In this case, since it's a pre-assembled notebook with staples, we decided to split the printing and do it with the assembled notebook. As the notebook has volume, we need to adjust the screen lift or the distance of the screen from the printing substrate. For proper paper printing, there needs to be a distance between the paper and the mesh, allowing the screen fabric to "lift off" the paper after each print. Usually, a distance of 1 or 2 mm is sufficient. To correct this distance, we use small pieces of cardboard or similar materials, which, in this case, we'll place on the screen printing frame.
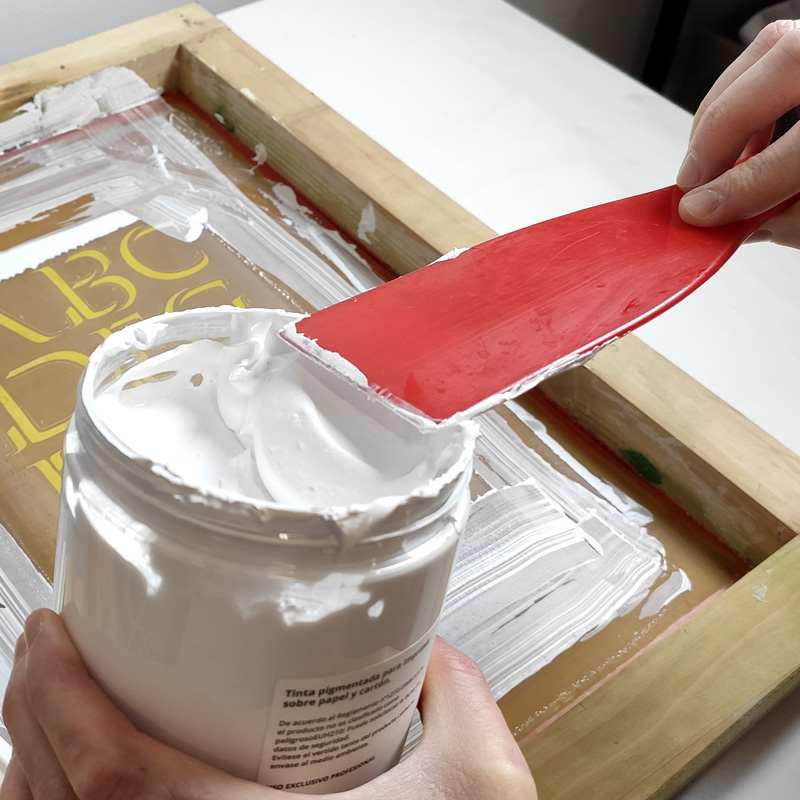
Preparing Screen Printing Ink
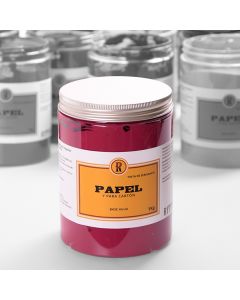
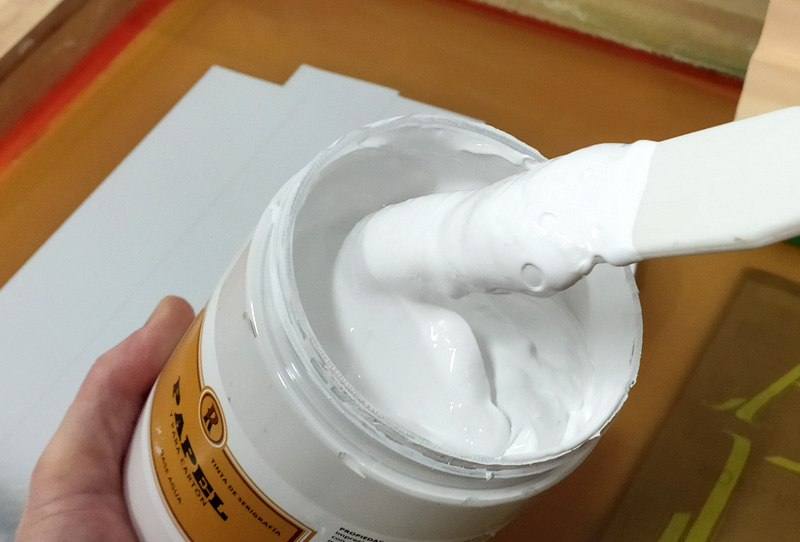
It's crucial that the screen printing ink has the right consistency for the substrate you're printing on. The Rittagraf paper screen printing ink we're using is ready to use. It's a water-based screen printing ink that doesn't contain petroleum-based solvents or heavy metals. This type of ink is safe for users. Rittagraf's paper screen printing inks reduce toxic components and make handling easier. Moreover, our paper screen printing inks don't clog the mesh, which is a unique feature.
In general, screen printing inks have properties to consider, such as density or viscosity, self-solvability, thixotropy, substrate adhesion, pigment load and size, among others. Like any other type of ink or paint, some of its properties can be modified, such as viscosity or transparency. In this case, no modifications to these properties were necessary.
So, what consistency should screen printing ink have? It depends on the mesh and the properties of the binders and additives, but generally, the ink should have a consistency similar to yogurt or honey. It shouldn't be too fluid to spread across the screen or too thick to hinder the squeegee's natural movement.
Screen Printing Registration
When creating an edition, especially in screen printing, it's desirable that all copies look the same. For this, it's necessary to plan registration that allows the design to be printed in the same position for all prints.
Types of Registration
There are many ways to register colors in manual screen printing. Here, we'll show two simple options to position the substrate to align the frame where you want it and establish a registration.
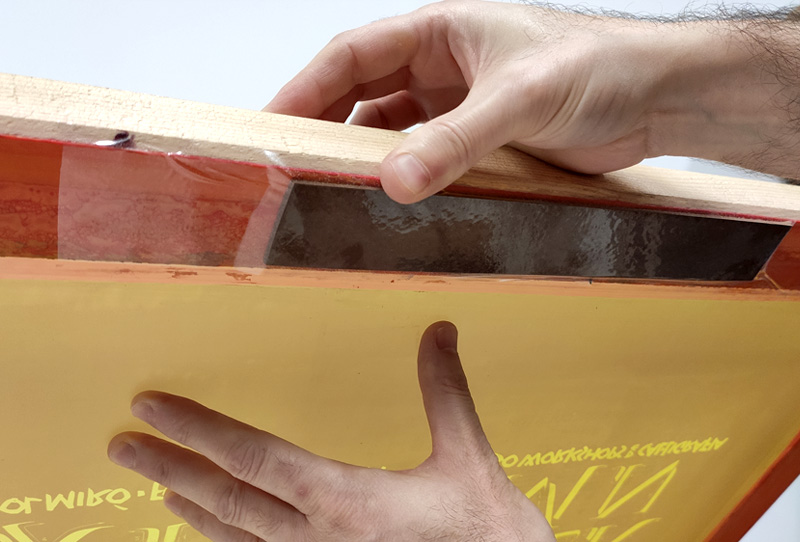
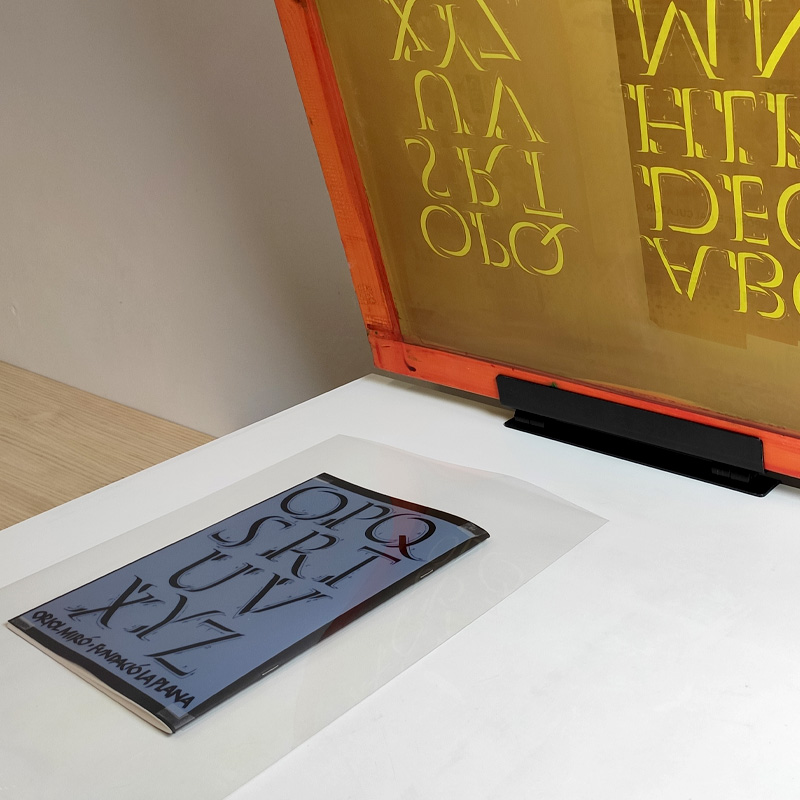
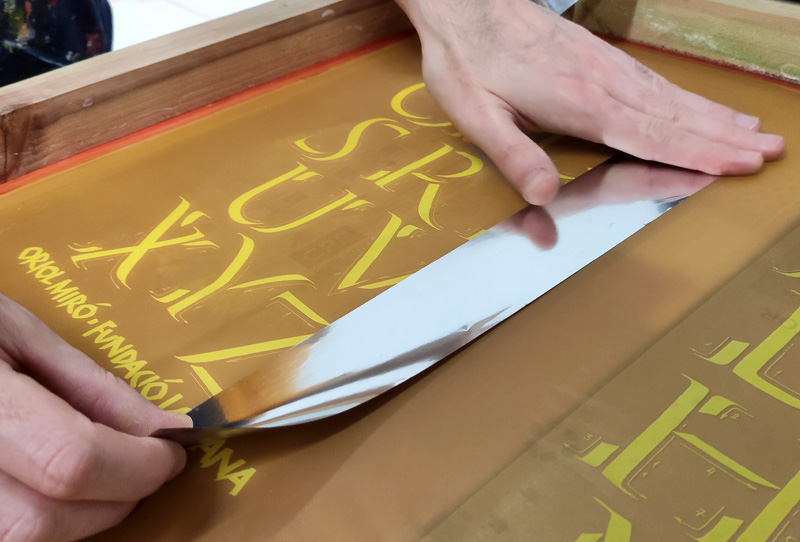
1.- Screen Transparency Registration
This method involves using the sample layout under the screen mesh until the photostat matches the mesh's opening. Most emulsions have some level of transparency, allowing you to see what's beneath. The challenge is when the photostat, substrate, and emulsion lack sufficient contrast. Alignment can be laborious.
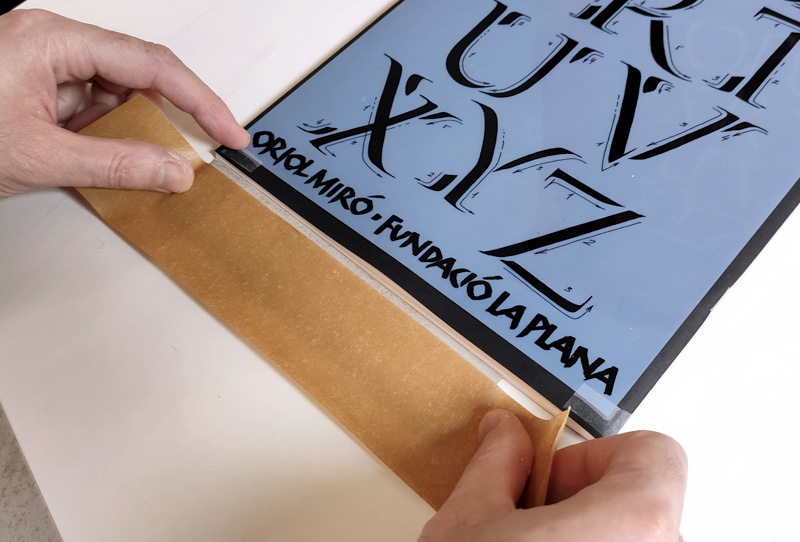
Once the substrate is aligned with the screen, we secure cardboard pieces on the printing table to create a parallel and perpendicular guide for the substrate. In this case, two pieces are sufficient, one at the bottom and one on the left. These pieces should be thick enough to define the space where the substrate fits but never thicker than the actual printing substrate, in this case, the notebooks.
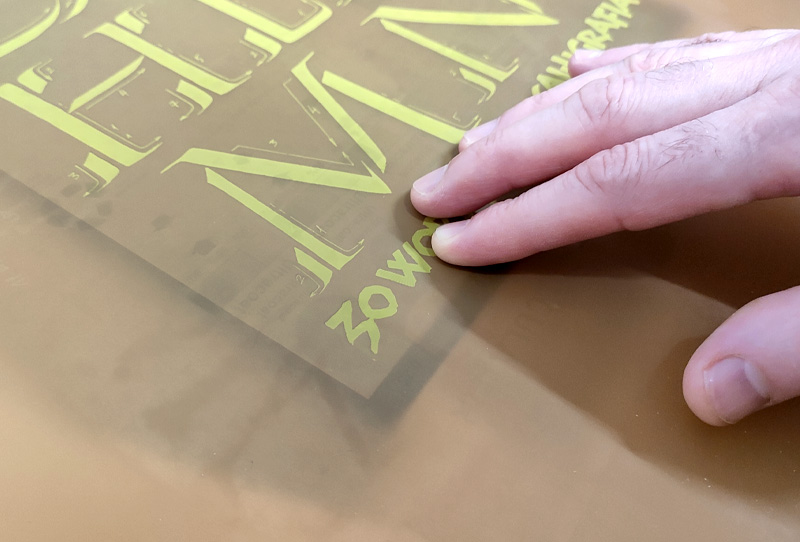
1. Screen Transparency Registration. We move the sample layout until it aligns with the open areas of the mesh, utilizing the emulsion's transparency and the lift-off distance. Then, we apply pressure to confirm that the image matches correctly.
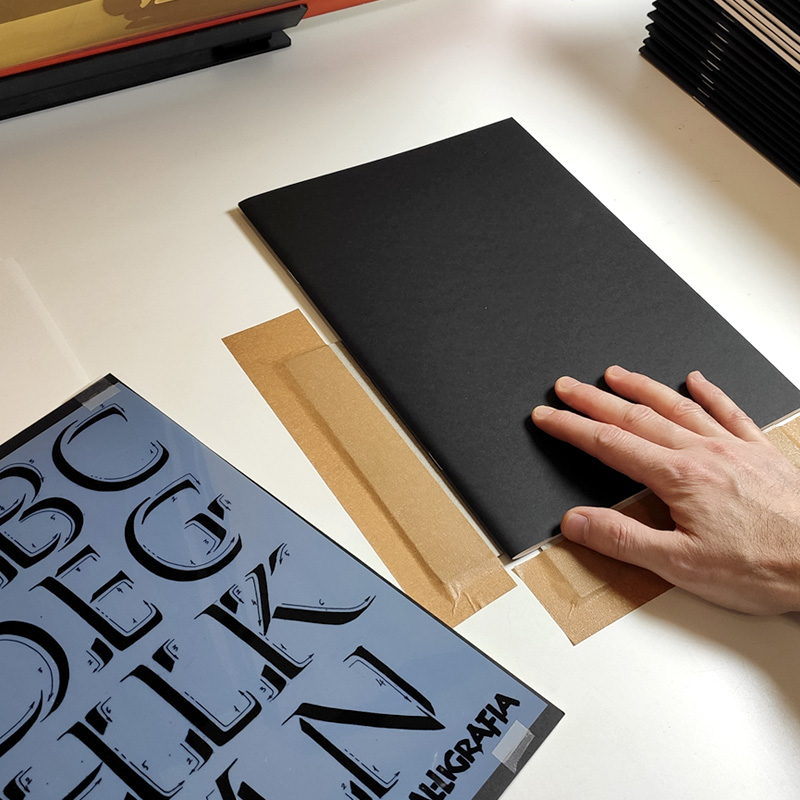
Method for attaching the registration cardboards to the screen printing table.
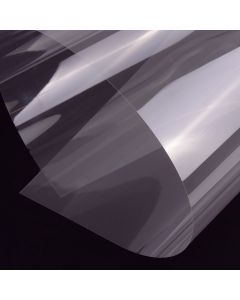
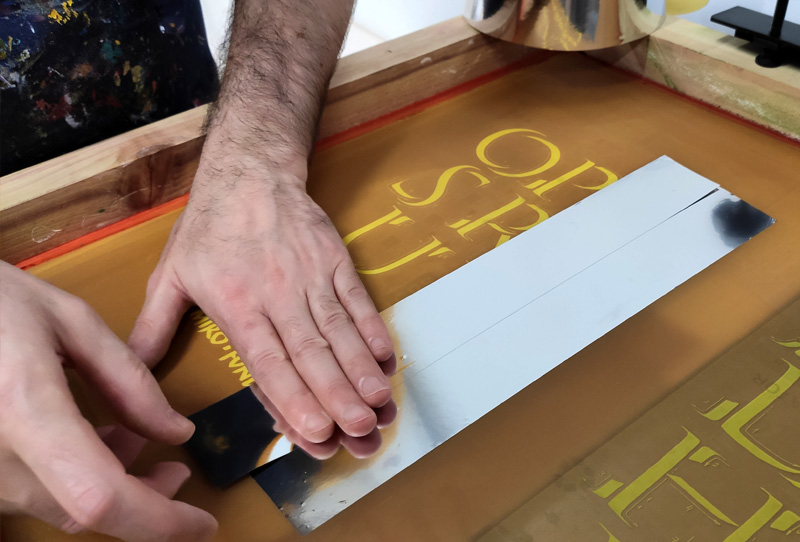
2.- Registration with Acetate or Registration Film
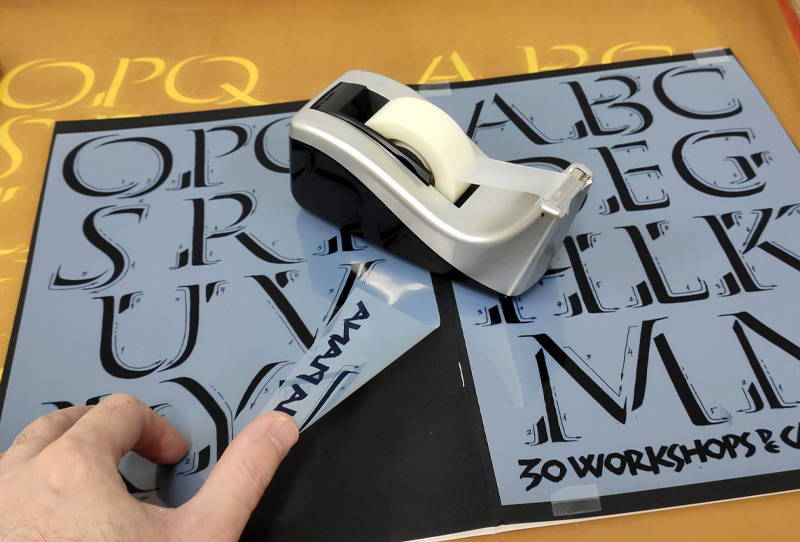
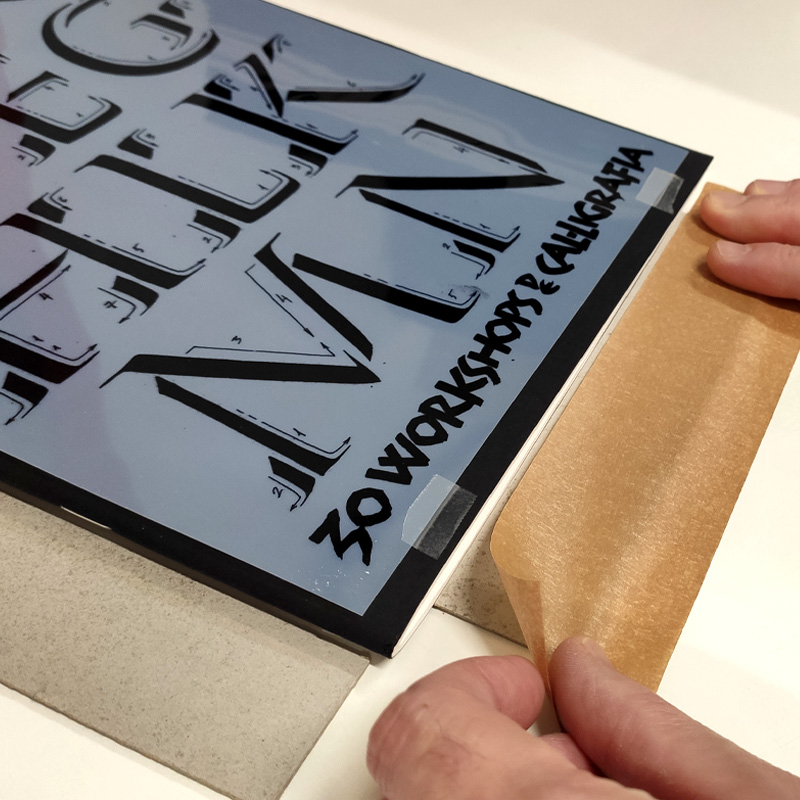
In this option, we also use the sample layout but don't seek alignment through the screen mesh. We attach a transparent acetate or registration film to the table from the underside. To do this, we use double-sided adhesive tape on both sides of the acetate, creating a hinge that allows the acetate to articulate movement without losing its position. We place the acetate on the sample layout and print on the acetate. Once printed, we can move the sample layout to align it with the print on the acetate. Once aligned, we secure cardboard pieces, as in the previous case.
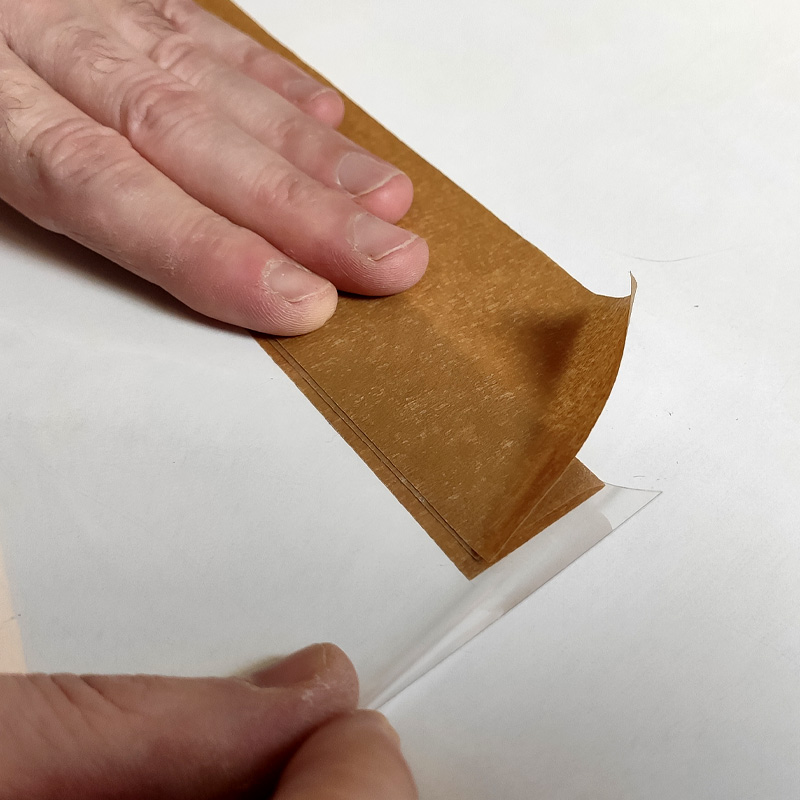
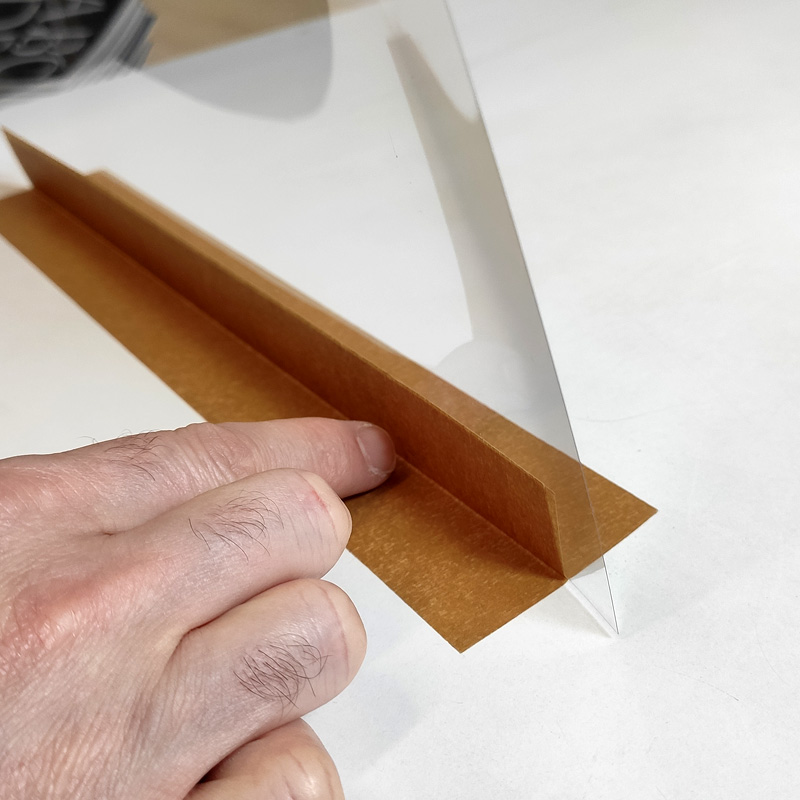
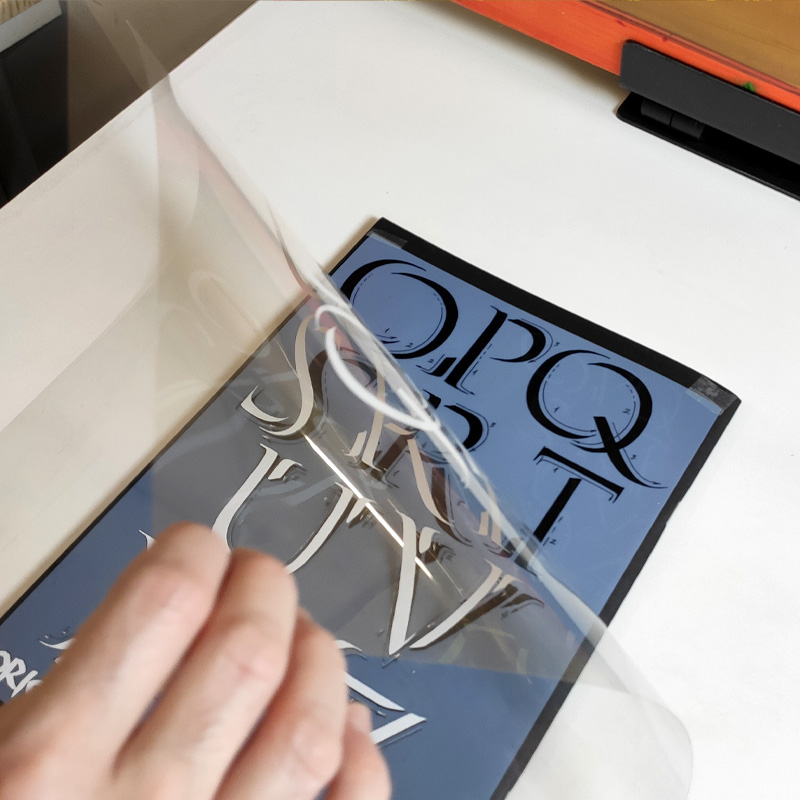
2. Registration with Acetate or Registration Film. Once secured to the acetate and printed, we slide the sample layout until we achieve exact registration. This registration method is highly effective when there's low contrast between the positive and the substrate, as is the case with these black notebooks.
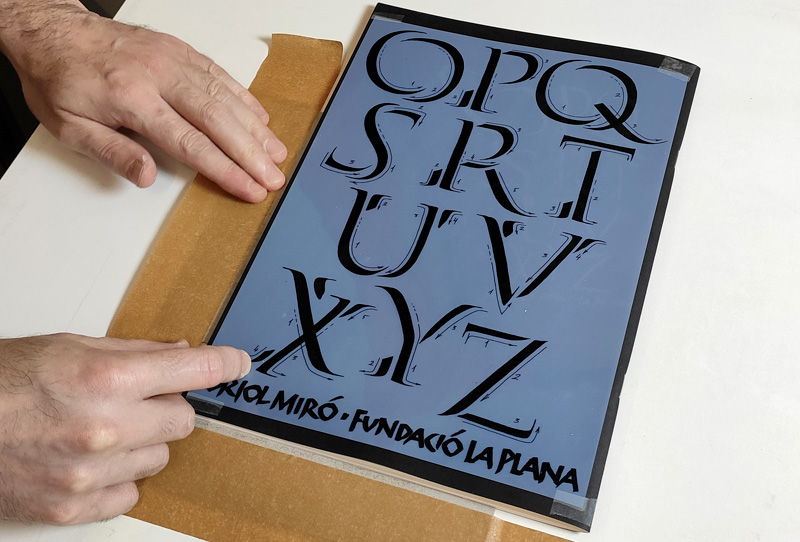
Once registered, remove the acetate and secure the cardboard pieces to create a physical registration.
Masking Screen Areas to Prevent Printing
As we've opted to print on both sides of the notebook, we'll be doing the printing in two stages. To do this, it's necessary to mask the image areas that won't be printed. In this case, we recommend using screen printing polyester tape instead of polypropylene adhesive tape. Screen printing polyester tape, commonly silver in color, is extremely thin, offers the right elasticity, and withstands the printing process without detaching. Additionally, it leaves no adhesive residue when removed after printing.
We use this tape to fully cover the areas of the image we don't want to print. If there are any pores or defects through which the screen printing ink could pass, this is the moment to cover them with small pieces of tape. If another type of tape is used, ensure it doesn't leave adhesive traces and remove it immediately after printing.
Screen Printing Process
Once the screen is set up, the ink is prepared, and the registrations are ready, we can proceed with printing.
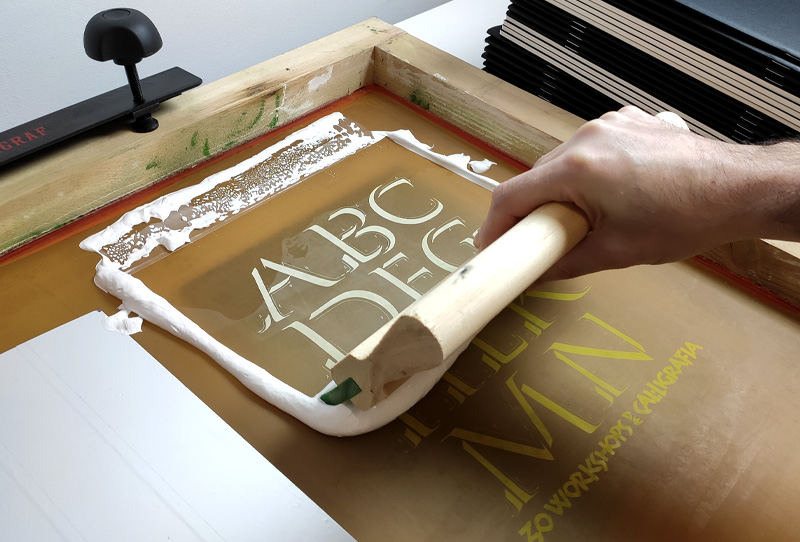
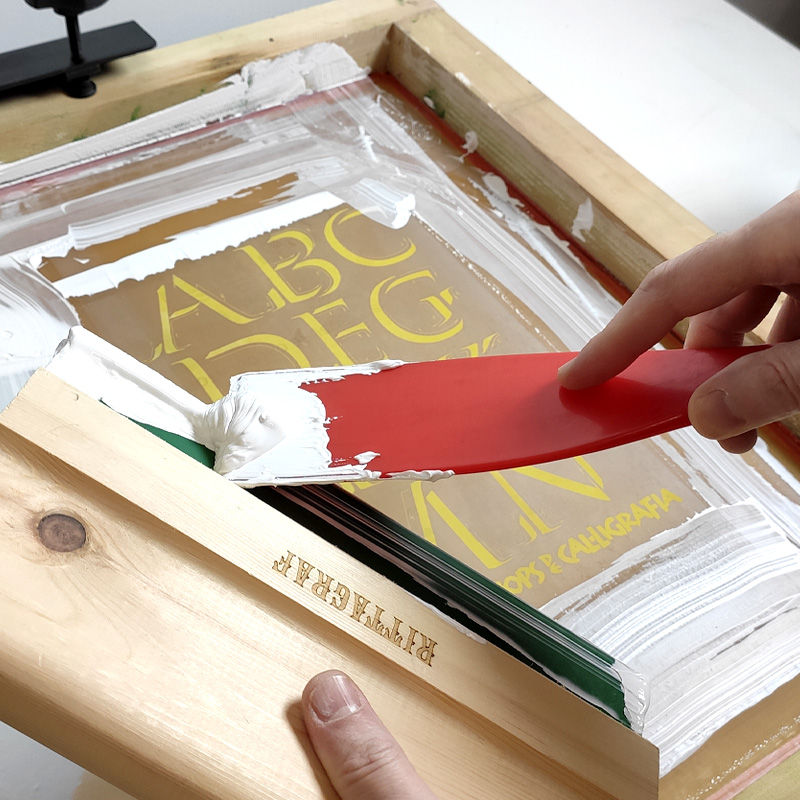
Loading Screen Printing Ink
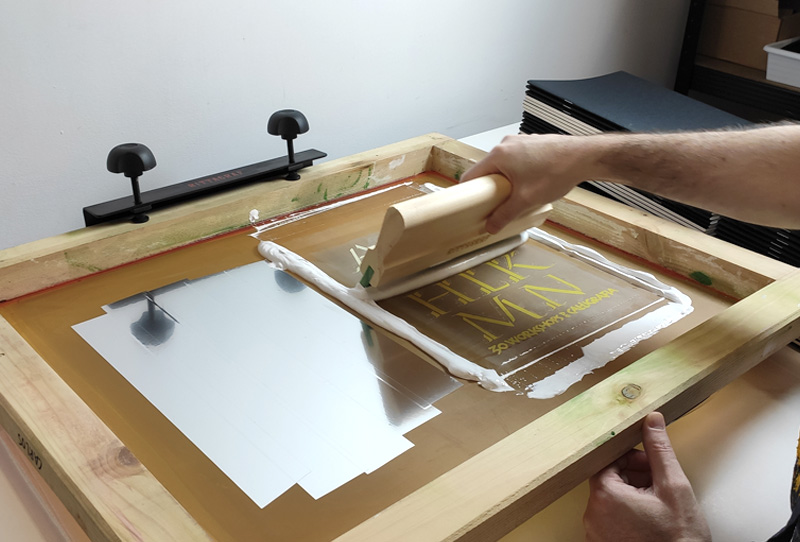
First and foremost, we place the ink on the mesh at the top. We wet the entire rubber part of the squeegee (even if it's larger than the image to be printed) and slide it from top to bottom, filling the open areas of the mesh with ink. This process is called "ink loading" of the screen in screen printing.
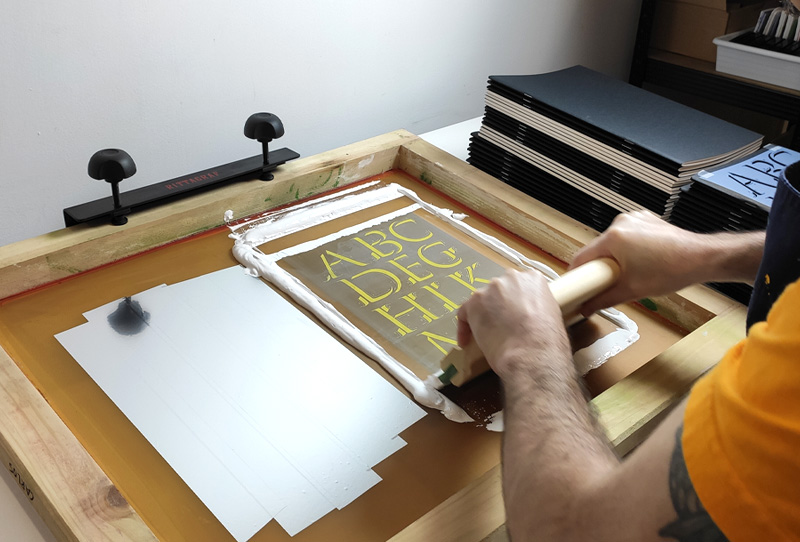
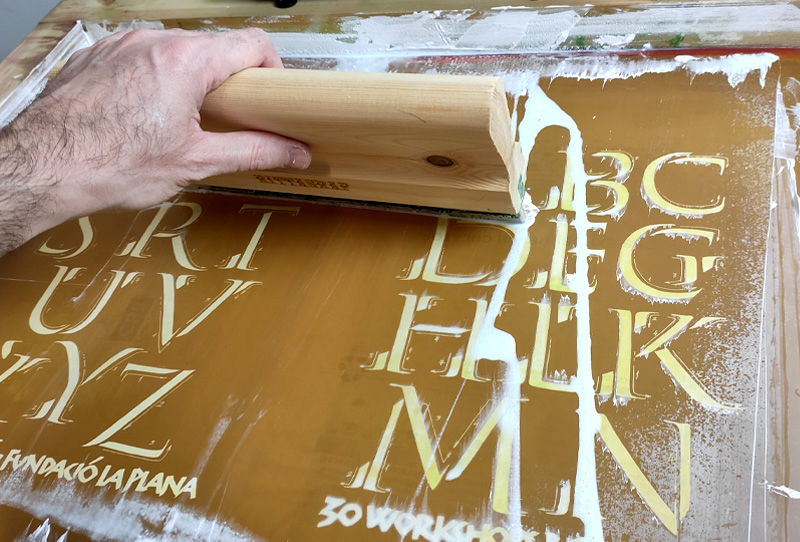
Printing in Screen Printing on Paper
Once loaded the ink, we place one of the substrates we want to print, lower the screen, and slide the squeegee again, this time applying enough pressure to feel the contact with the substrate to be printed. Right after printing, we raise the screen to separate it from the substrate we just printed, and immediately, while keeping the screen raised, we reload the screen with ink. We remove the substrate, and now we can assess the print!
Assessing the Final Printed Result
With the first print on the final substrate, we can already evaluate if the result is as desired. What should we evaluate with the first print of our screen print?:
- Image definition: Ensure that there are no image areas that aren't printing.
- Placement: Confirm that the print is in the desired position by comparing it with the sample layout.
- Opacity and Color: Assess if it's as desired. Inks typically lose intensity as they dry.
If there are any necessary process modifications, this is the time to make them. If everything is correct, we can proceed with the edition, always remembering these steps: remove the printed substrate, reload the screen with the image while it's raised and away from the substrate, place the substrate, lower the screen frame, and pass the squeegee to transfer the ink that was previously loaded. Lift the screen, remove the substrate, and quickly repeat the process until the edition is complete.
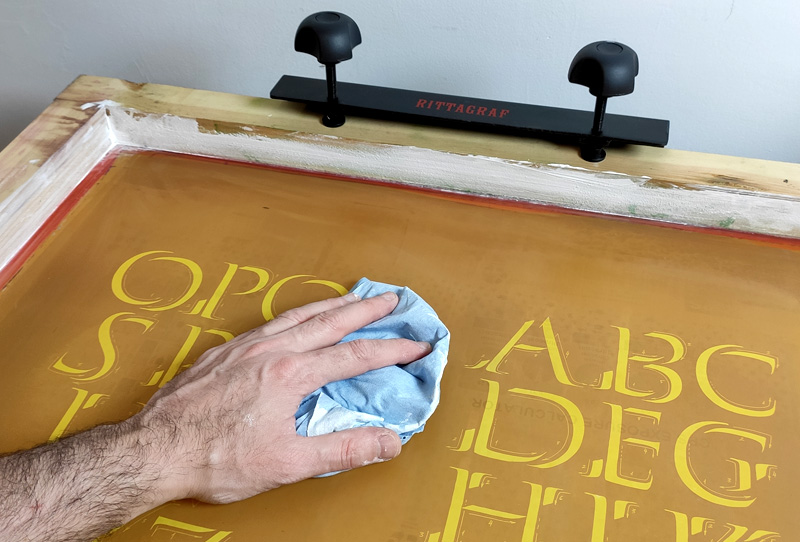
Cleaning the Screen in Screen Printing
After finishing the printing, we remove the ink with a screen printing spatula. Any excess ink can always be recovered and reused. If the ink has been modified with water or an additive, it's better not to return it to the original container.
Once the ink is removed, we can print multiple times on test papers. Since we're working with water-based screen printing ink, cleaning with water and a cloth will suffice to remove all the residues. Our paper screen printing inks do not clog the mesh, making cleaning easy and leaving no ink traces or ghosting.
By following these steps and choosing the right materials, you can create truly stunning white prints on black. To keep your screens and screen printing inks in optimal condition, if you plan to reuse the same screen, be sure to store it clean and free of ink residues. To extend its lifespan, store it in a dry place and protect it from direct light. Similarly, you should store the ink in its original container or, if not available, in a well-sealed container away from temperature fluctuations. Before each edition, check the ink's condition and adjust its viscosity if necessary.
To kickstart your own screen printing projects, below, we provide links to the materials we've used, available on our online store and physical shop.