

® Carlos Alguacil for Rittagraf
Step-by-Step Direct Drawing Screen Printing Process
There are several brands that offer products for drawing and blocking screen printing screens, such as Speedball, Jacquard, and Daler and Rowney. After years of trying different options, we have found that the Speedball blocking system is one of the most reliable on the market today. However, it is important to note that none of the blockage removers are as effective as desired, even Speedball's Speed Clean.
The term 'direct drawing' was coined, among others, by our technician Carlos Alguacil. While screen printing blockages for working without emulsions have existed for many years, their popularity has increased in recent times thanks to chemical advances in screen blocking systems. If you want to know more about the origin of the name 'direct drawing' and about these materials, we recommend that you visit our post: History and FAQs of Direct Drawing Screen Printing System.
To perform what we call direct drawing screen printing, you will need three key products:
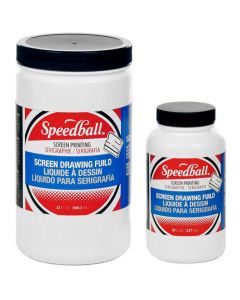
- The liquid for drawing directly on the screen: this liquid is applied directly to the screen mesh and serves to create screen printing stencils.
- The blocker: this product masks and waterproofs what has not been drawn, allowing only the desired image to be printed.
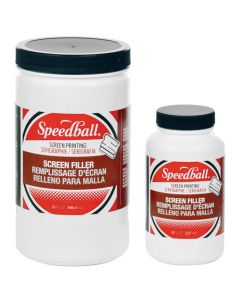
- The remover or eliminator of the blocker: this product is used to remove the blocker from the screen and prepare it for the next print.
Next, we explain step by step how to use each of these materials.
Step 1: Create the Drawing
Before starting to draw, we need to clean and degrease our screen mesh. Although grease doesn't interfere as it does when working with a photosensitive emulsion, we must ensure that the fabric is clean and free of dust. We recommend checking out our tutorial on degreasing screen meshes for screen printing.
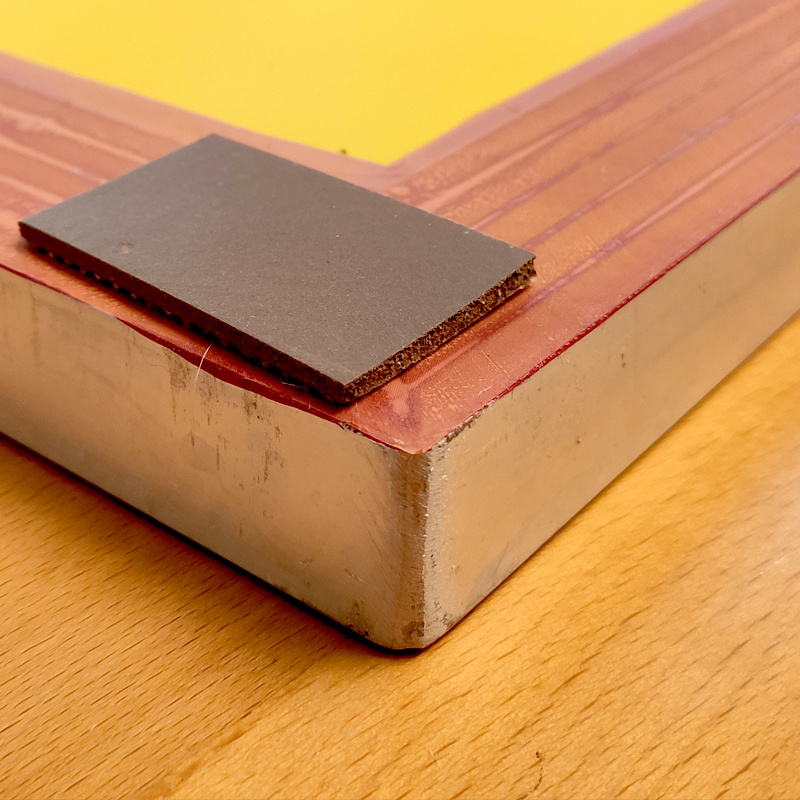
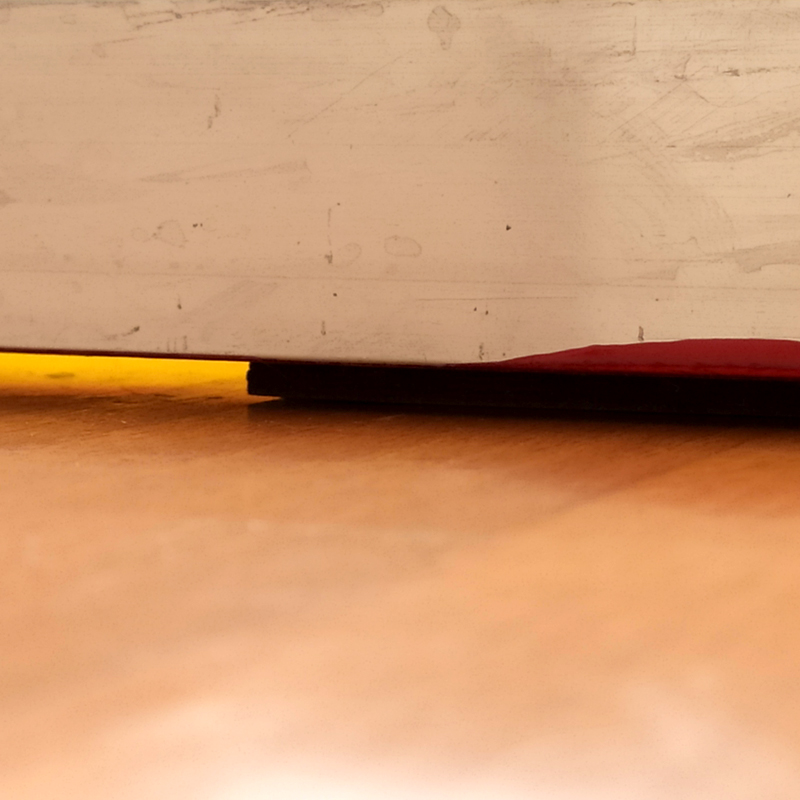
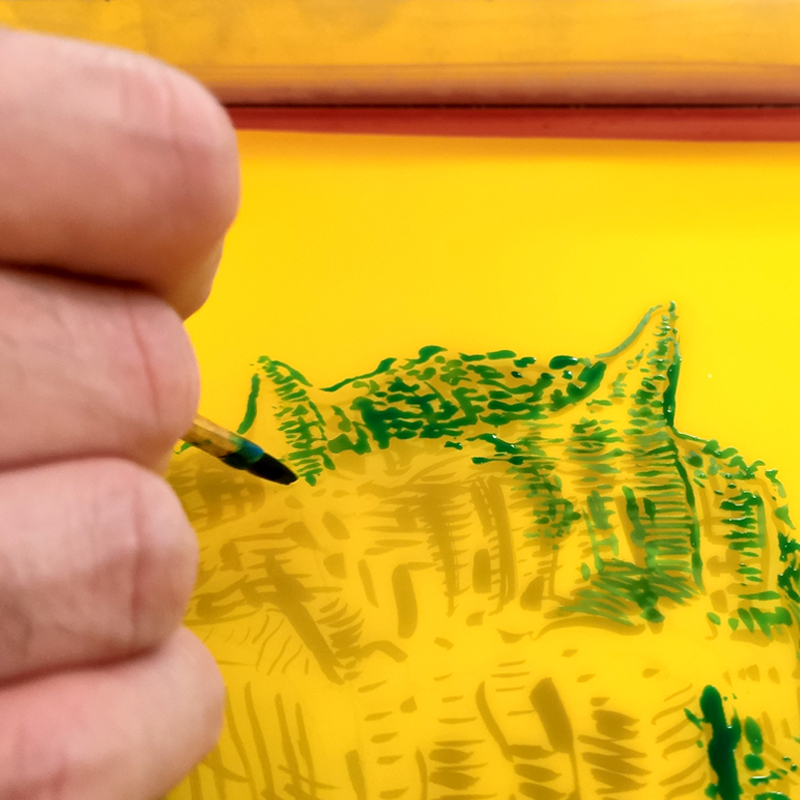
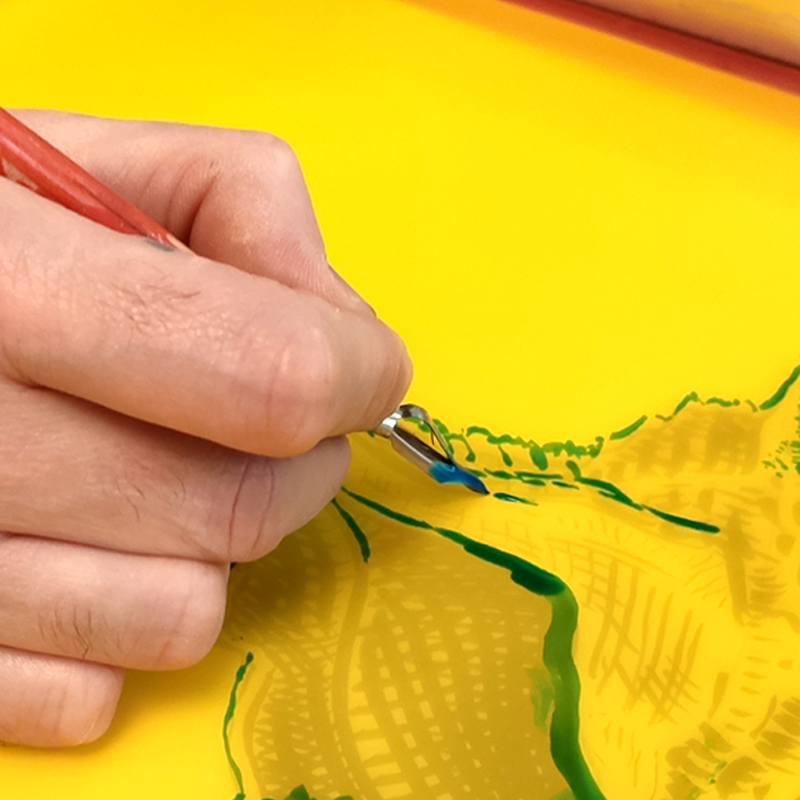
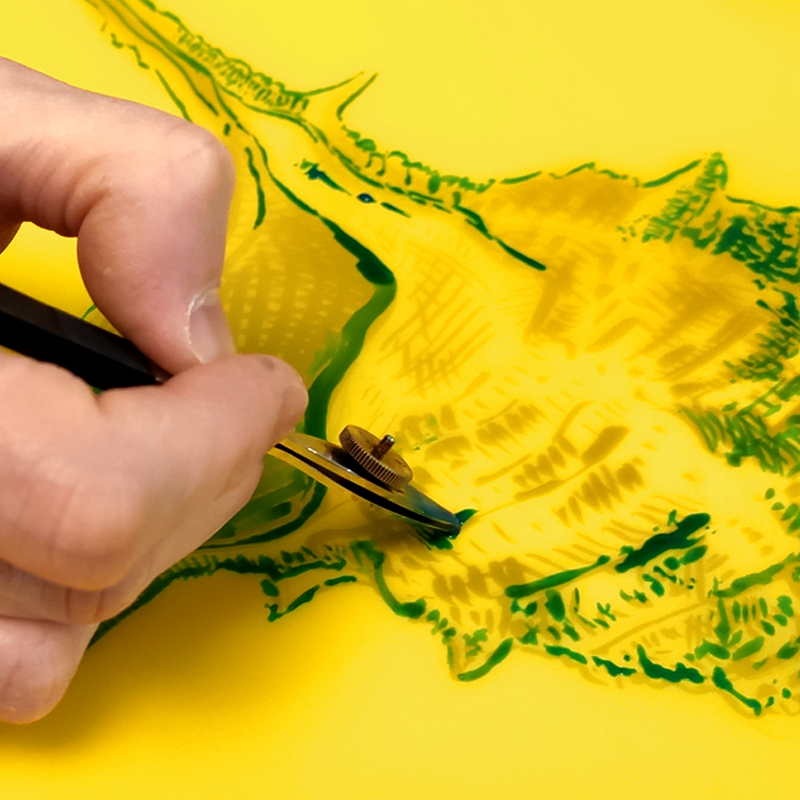
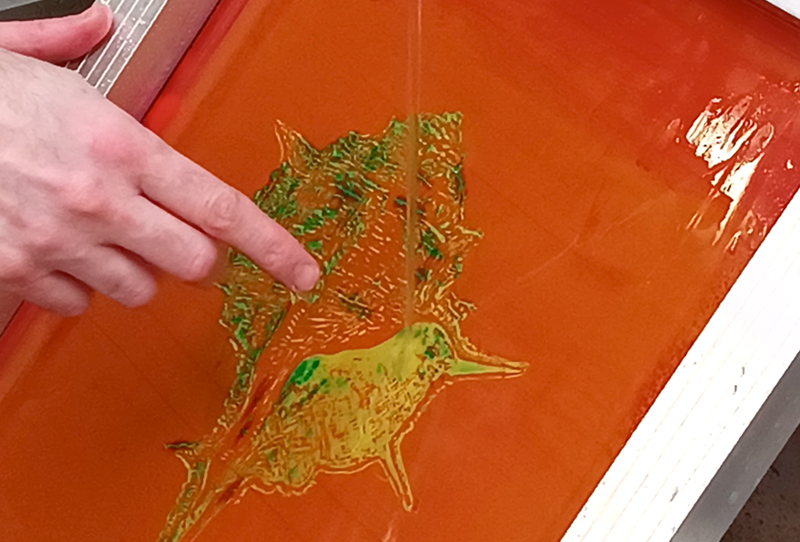
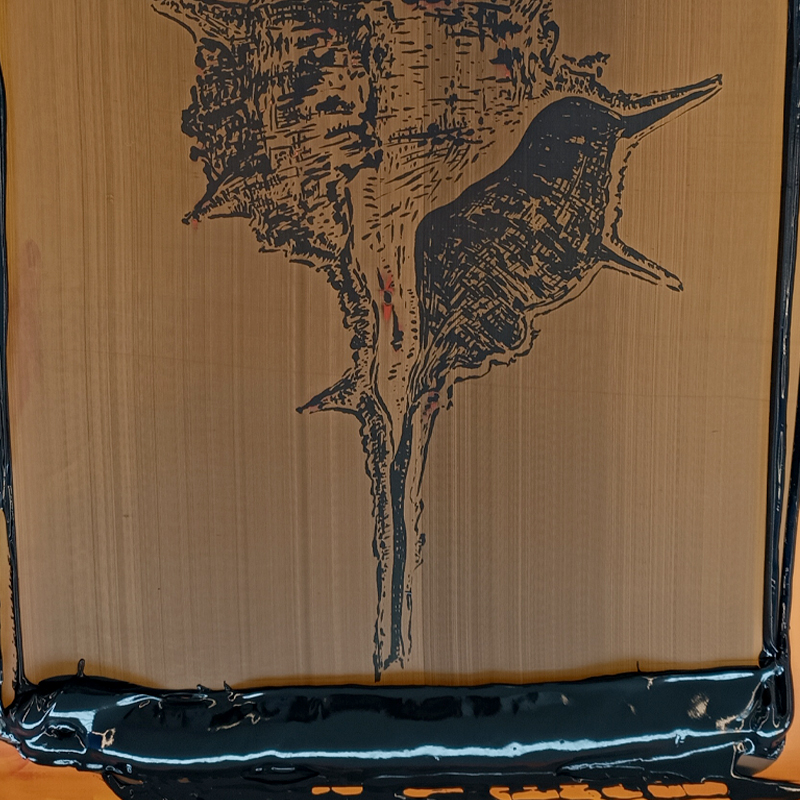
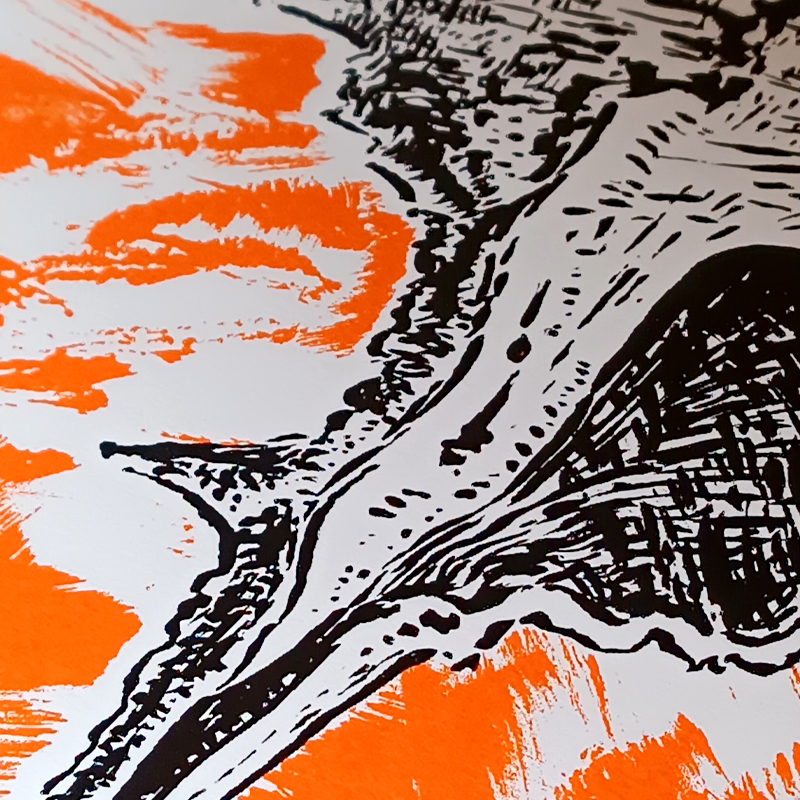
What we draw with Drawing Fluid is what we will print later. Therefore, we must draw directly onto the mesh, always on the inside and in the correct reading direction. Before drawing, we place some spacers on the screen frame to raise it slightly and prevent the drawing from passing through the mesh and onto the table surface. A 2 or 3mm lift will be sufficient. Pieces of linoleum or foam board will work perfectly.
With the screen lifted, we can use a drawing as a reference or a transfer design. This type of guide will be ideal and indispensable if we want to make 2 or more colors that have a registration between them. The quality of the image will depend directly on our ability to draw with this fluid on the screen mesh.

What tools can you use to apply the drawing fluid?
Well, anything that comes to mind as a plastic pictorial medium. Here are a few ideas: brushes, pens, calligraphy pens, reeds, sponges, stenciling daubers, rags, foam rollers, etc. Creativity in drawing tools has no limits. Any tool will be welcome. We have even used refillable markers or brushes, although you have to modify the density of the fluid a bit. The only thing that is essential is to apply the amount of drawing fluid necessary to block the pores of the screen mesh. Speedball's Drawing Fluid is blue and helps us visualize what we are drawing, but don't be visually fooled. You have to make sure that the blocker is not going to cover what we have drawn. If the drawing is too light in material, it will disappear.
What mesh count can I use for screen printing?
You can use any mesh count, but you have to take into account the characteristics of the drawing fluid and the blockout fluid, and keep in mind that you are not drawing on paper, but on a polyester mesh with a specific diameter and opening size. A very open mesh, for example 43 threads per inch, will require a thicker layer of drawing fluid. This may limit the quality of reproduction.
For better reproduction quality and the plastic properties of the materials, we recommend using at least a 61 threads mesh (cm.), and if possible, using meshes above 77 threads per cm. This does not mean that you cannot use more open meshes, but we believe that you would lose some of the potential of the product.
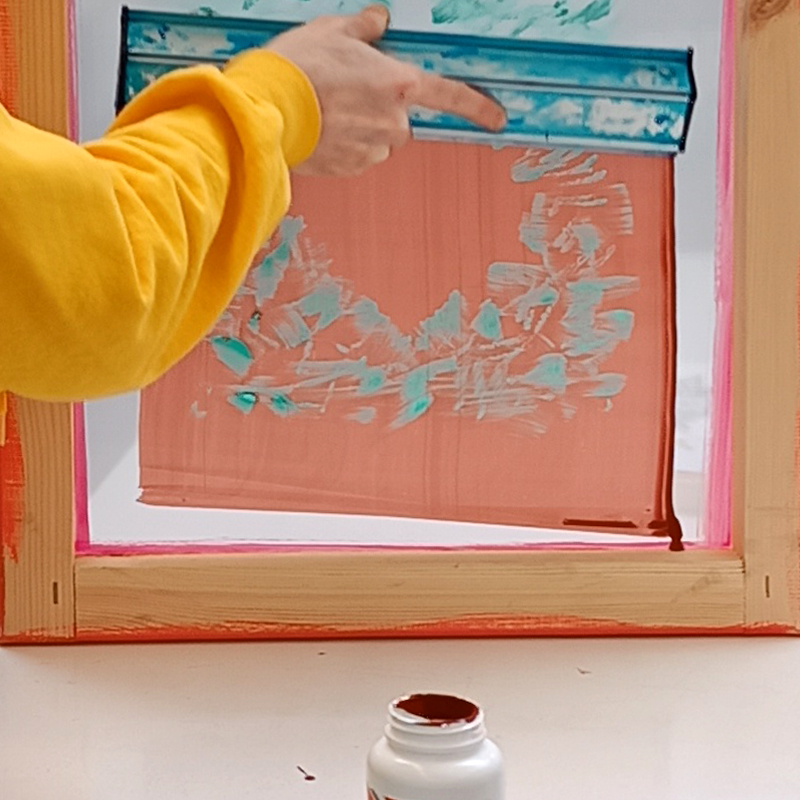
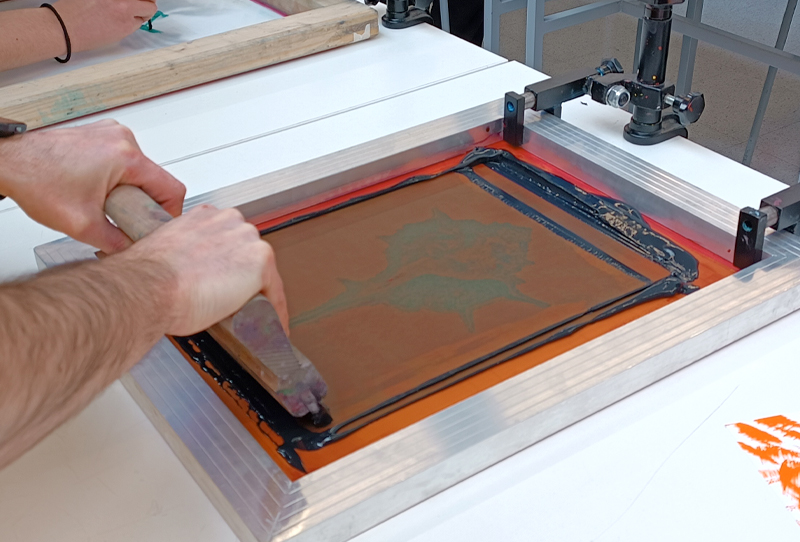
Step 2: Apply the blockout
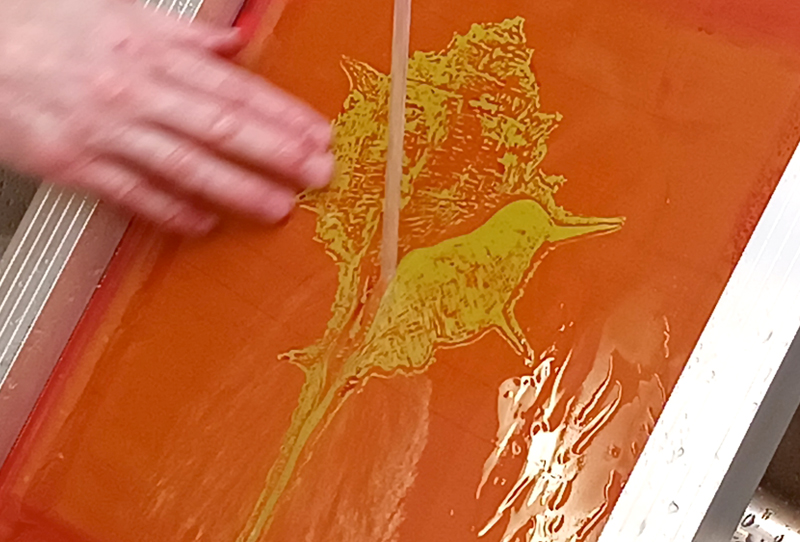
It is very important that we have allowed the Drawing Fluid to dry completely. We can use a hair dryer to speed up the process.
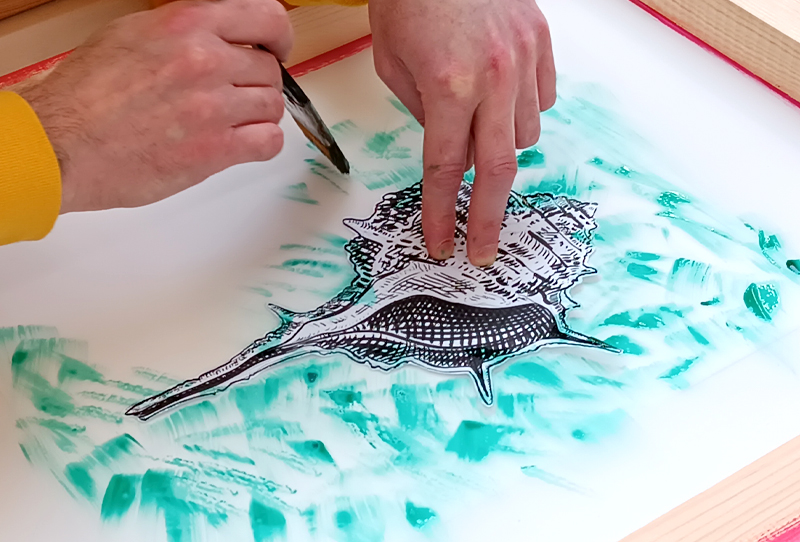
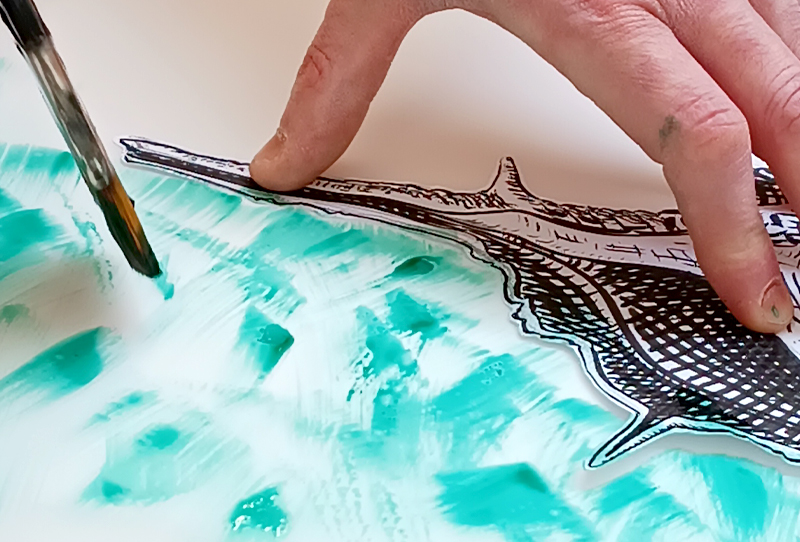
Once the image is dry, we must apply a thin layer of Screen Filler on the outside of the screen (the side that will be in contact with the printing substrate).
To apply the blockout, we can use:
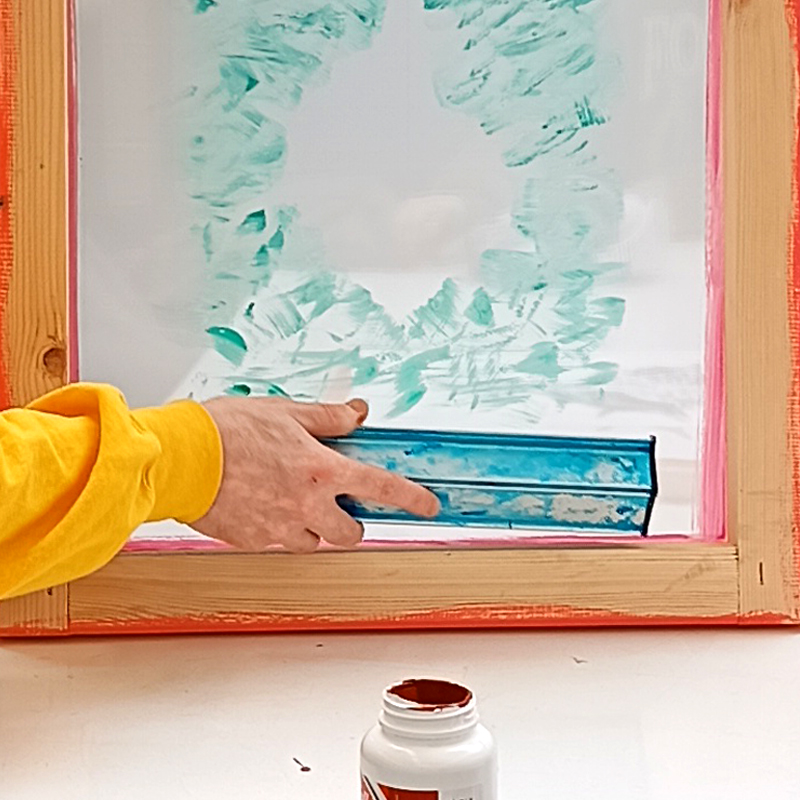
- A serigraphy scopp coater, like the one we use to apply photosensitive emulsions in screen printing.
- A Speedball Red Baron squeegee or a conventional squeegee.
It is essential to block the screen with a uniform layer in one stroke. If we have applied the Screen Filler correctly, it will block the screen mesh in the areas where we did not draw.
After applying the blockout, we immediately remove any excess Screen Filler, which can be reused if collected immediately. Once the blockout layer is applied, we let it dry. We can use a hair dryer or bathroom heater. The viscosity of Screen Filler is lower than that of conventional screen printing emulsions, and it is not necessary to dry the screen in a horizontal position.
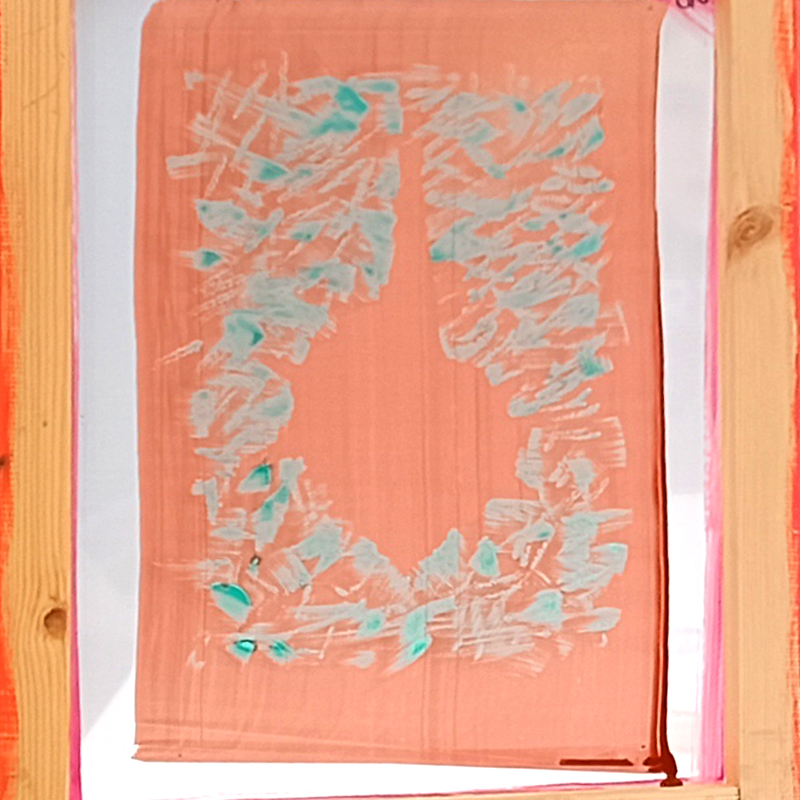
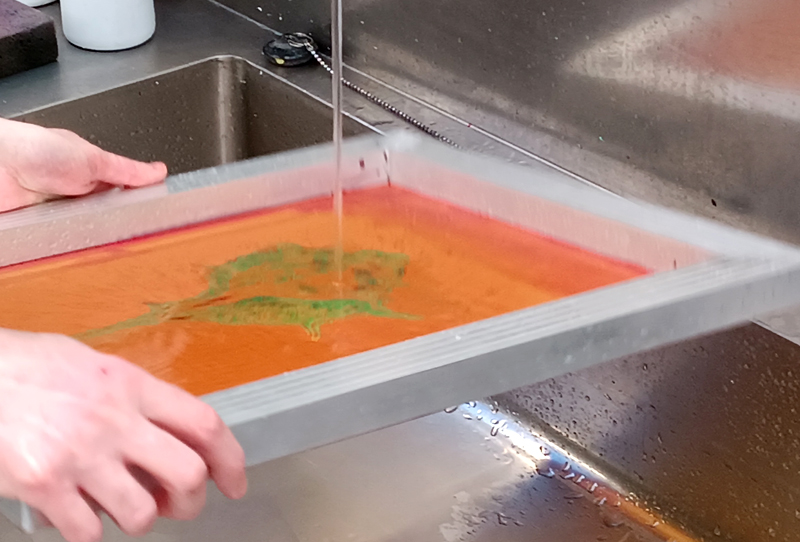
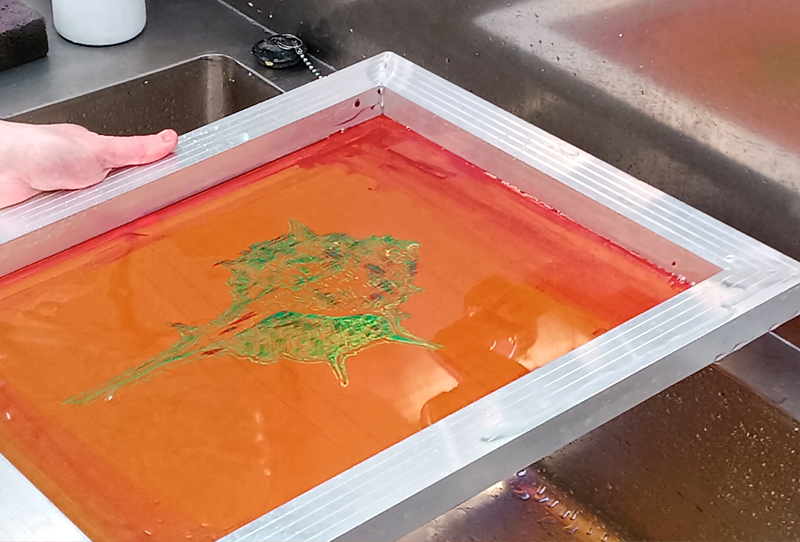
Step 3: "Developing" the screen printing frame
We apply cold water with a shower or a garden hose (never use a pressure washer). The pressure of domestic water should be enough. Gradually, the areas drawn with the Drawing Fluid will open up when in contact with cold water. If necessary, we can use a clean brush or sponge to help. Once the image we drew is revealed, we proceed to dry the screen.
Now everything is ready for screen printing!
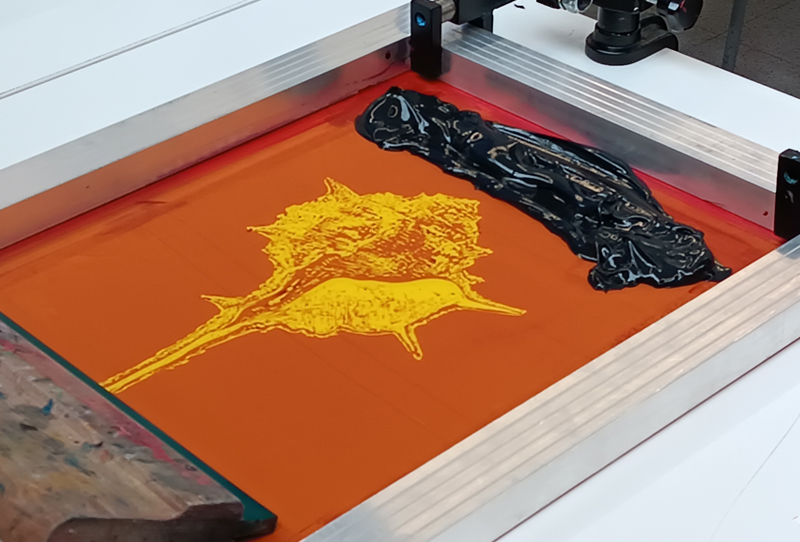
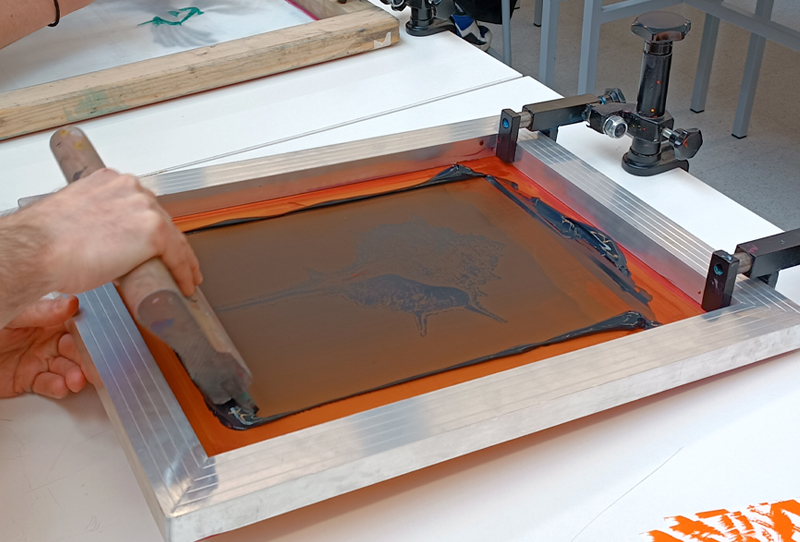
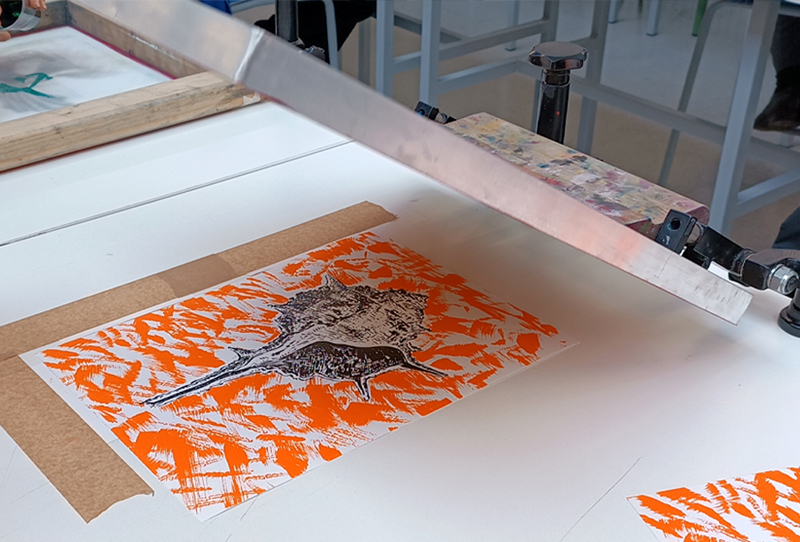
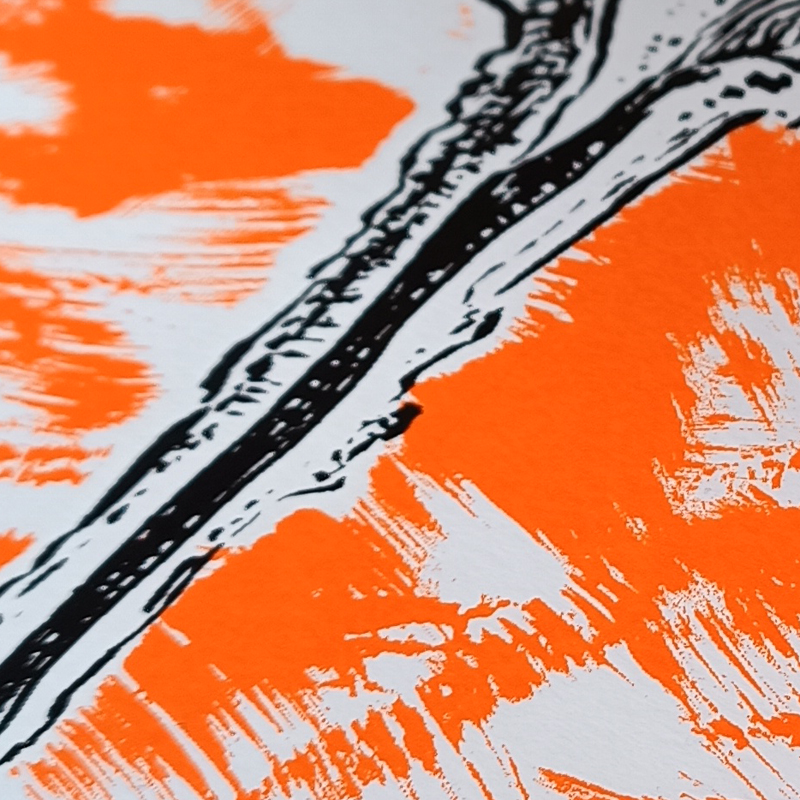
Step 4: Direct Drawing Screen Printing Process
We register the screen and print it with water-based inks, as if it were a regular screen printing frame.
Step 5: Remove the blockout to reuse the screen
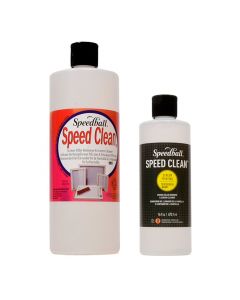
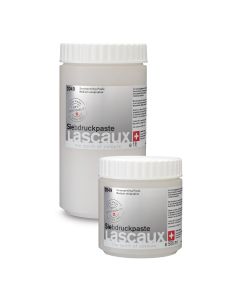
If we want to reuse the screen, we must remove the blockout from the mesh. Conventional reclaimers (reclaimers of photo-sensitive emulsion that can be found in concentrated liquid or powder form) do not work for direct drawing. For direct drawing blockout, each manufacturer has its own method, specific chemical, or recommendations. Jacquard, for example, recommends using bleach to remove its own blockout, Screen Filler & Block Out; we warn that this recovery option is very ineffective and always causes problems. Speedball, on the other hand, suggests using Speed Clean. It should be applied on both sides of the mesh by rubbing with a brush, and once the blockout dissolves, we must apply hot water. Although it is a functional product, it is necessary to emphasize that it is not as effective or as good as one would like. It takes more effort than it seems and requires a lot of patience. After years of research, we present the direct drawing blockout cleaner Sosil. This chemical is capable of reclaiming screens made with Direct Drawing without the need for hot water or complementary chemical products, and it is very effective. Sosil is available in powder form and can be applied in a dilution of 50 grams of Sosil per 1 liter of water.
Materials used for this Direct Drawing tutorial:
- Speedball Drawing Fluid
- Speedball Screen Filler
- Sosil (exclusive Rittagraf recoverer for Direct Drawing blockouts)
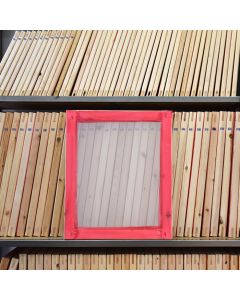
- 90 Mesh Wooden Frame Screen Printing Frame
- 90 Mesh Aluminum Frame Screen Printing Frame
- Red Baron Speedball Squeegee or Screen printing squeegee
- Aluminum Emulsion Coater (optional)
- Simple screen printing hinges or Speedball screen printing hinges
- Rittagraf Paper Inks
- Drawing tools: brushes, sponges, pens, nibs, etc.


In summary, Direct Drawing Screen Printing is a perfect system for professional screen printing at home or in small spaces without infrastructure. These products allow you to print with any water-based ink. You don't need specific machinery or photographic processes, and the use of toxic products is minimized. It's a quick process with no odors or solvents.
If you want to learn more about the history and get answers to some of the most frequently asked questions about Direct Drawing Screen Printing, we recommend that you also check out our post: History and FAQs of Direct Drawing Screen Printing Systems.